Android SDK
Overview
This guide provides instructions for installing Sensfrx Android SDK for native Android apps. The SDK collects Android device information and application interaction events to enhance fraud detection accuracy.
Sensfrx processes additional device metadata to help distinguish between legitimate users and fraudsters who may be using techniques such as app cloning, network evasion, device rooting, or emulators to bypass security measures. At your request, the following data types from devices interacting with the Fraud Protection services are processed:
1. Device Characteristics: This includes details such as device class, processor, screen information, and device ID.
2. Operating System Features: Information about the operating system, including its version.
All of the above data helps enhance security by identifying anomalies and potential threats.
Library size and method count
Total AAR Size in sensFRX-release.aar | 0.031 mb |
Total methods in sensFRX-release.aar | 248 |
Total classes in sensFRX-release.aar | 61 |
Configuration Requirements
minSdk version = 21
(Optional) Internet permission and location permission, ACCESS_FINE_LOCATION, ACCESS_COARSE_LOCATION
Property Id and Property Secret (Sensfrx Dashboard)
Android 4.0.3 or later and minSdkVersion 15 or later.
The following runtime permission is needed for the Android SDK in case you need location-based events:
android.permission.ACCESS_COARSE_LOCATION
To correctly configure Sensfrx into your web application you need to follow the below steps that are:
Step 1: Create and setup your account
Step 2: Add your property
Step 3: SDK Code Integration
3.1 Installation
3.2 Configuration
Step 4: Generate a request token
Step 5: Integrate event tracking
Step 1: Create and Setup your account
If you already have an account, please proceed to Step 2.
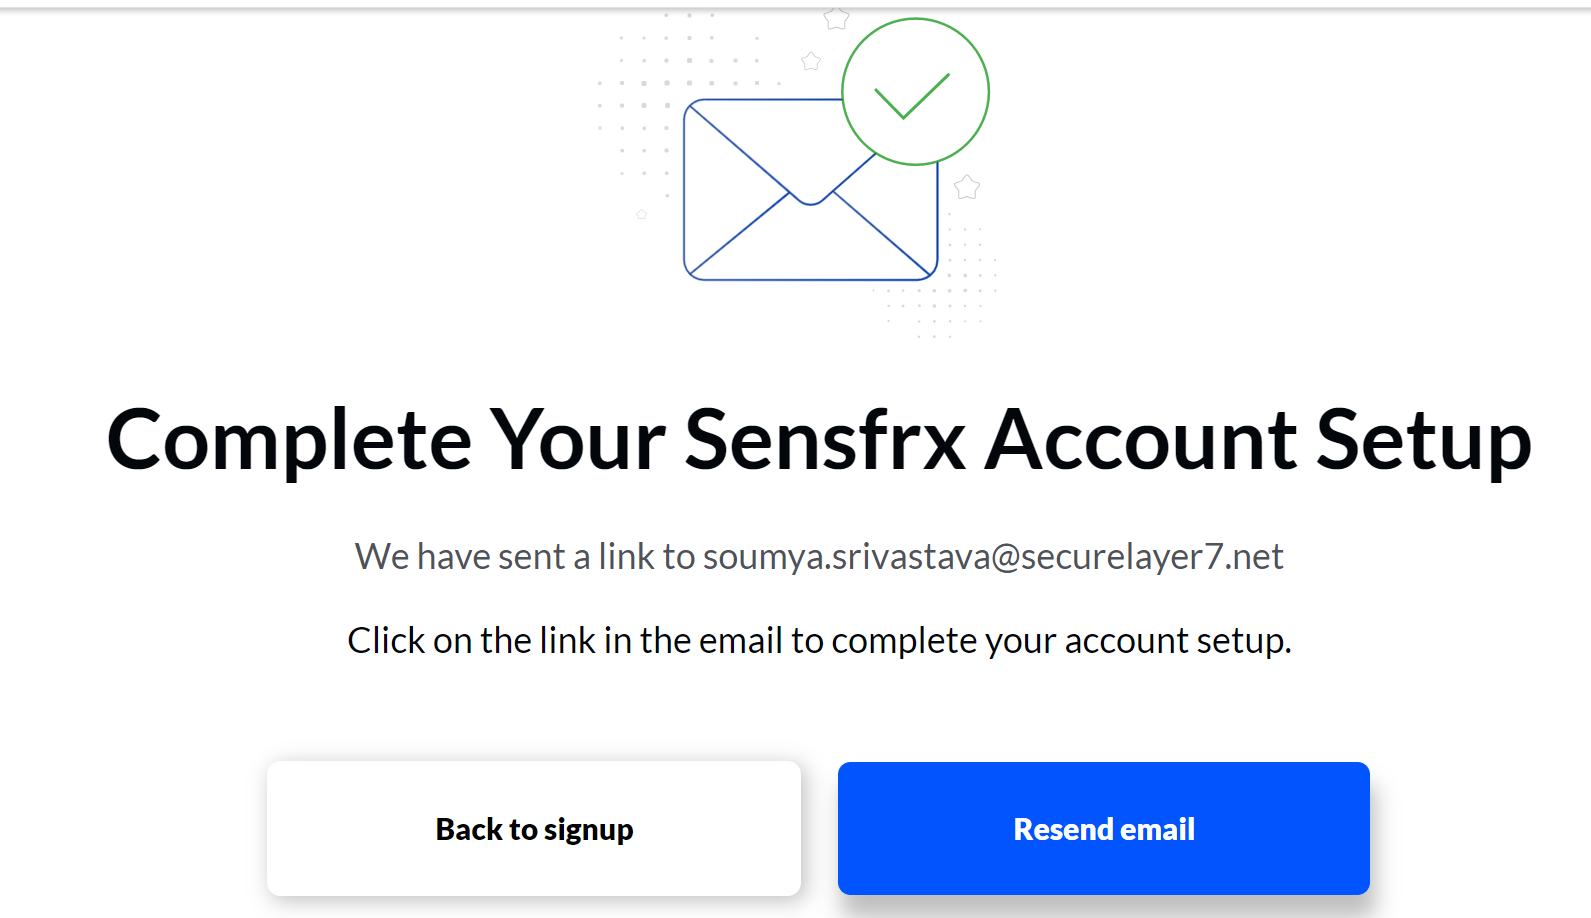
1.1 Sign up for a free trail to get started and enter all the details as required and you will receive a verification link in your email.
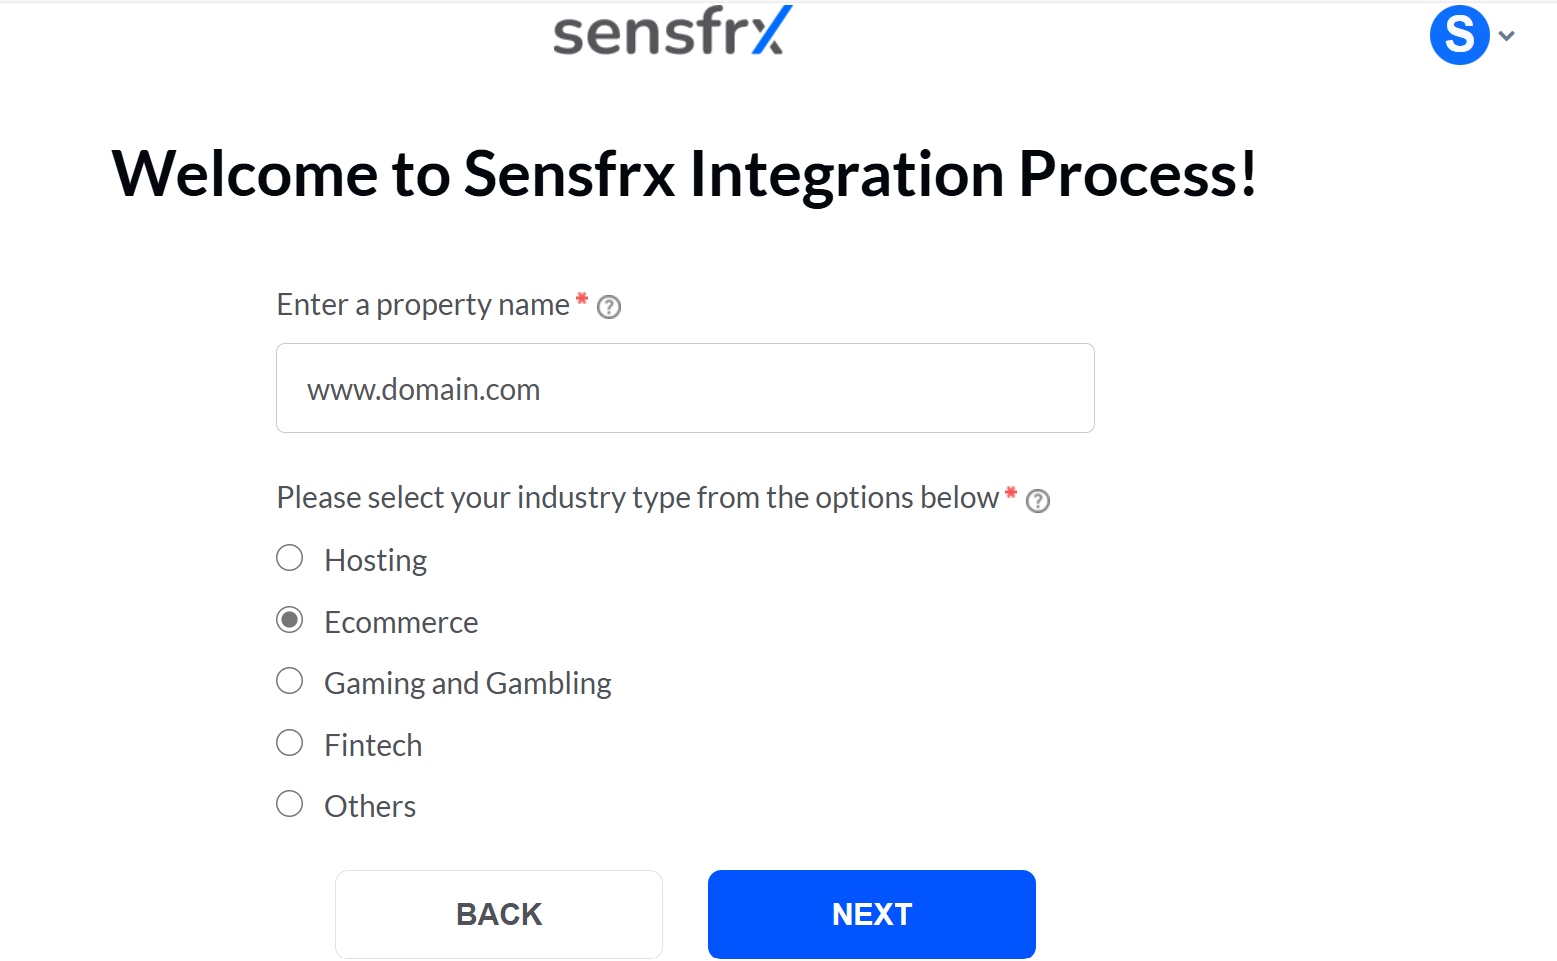
1.2 After verifying the email you will need to enter the details of your web application and click on Next.
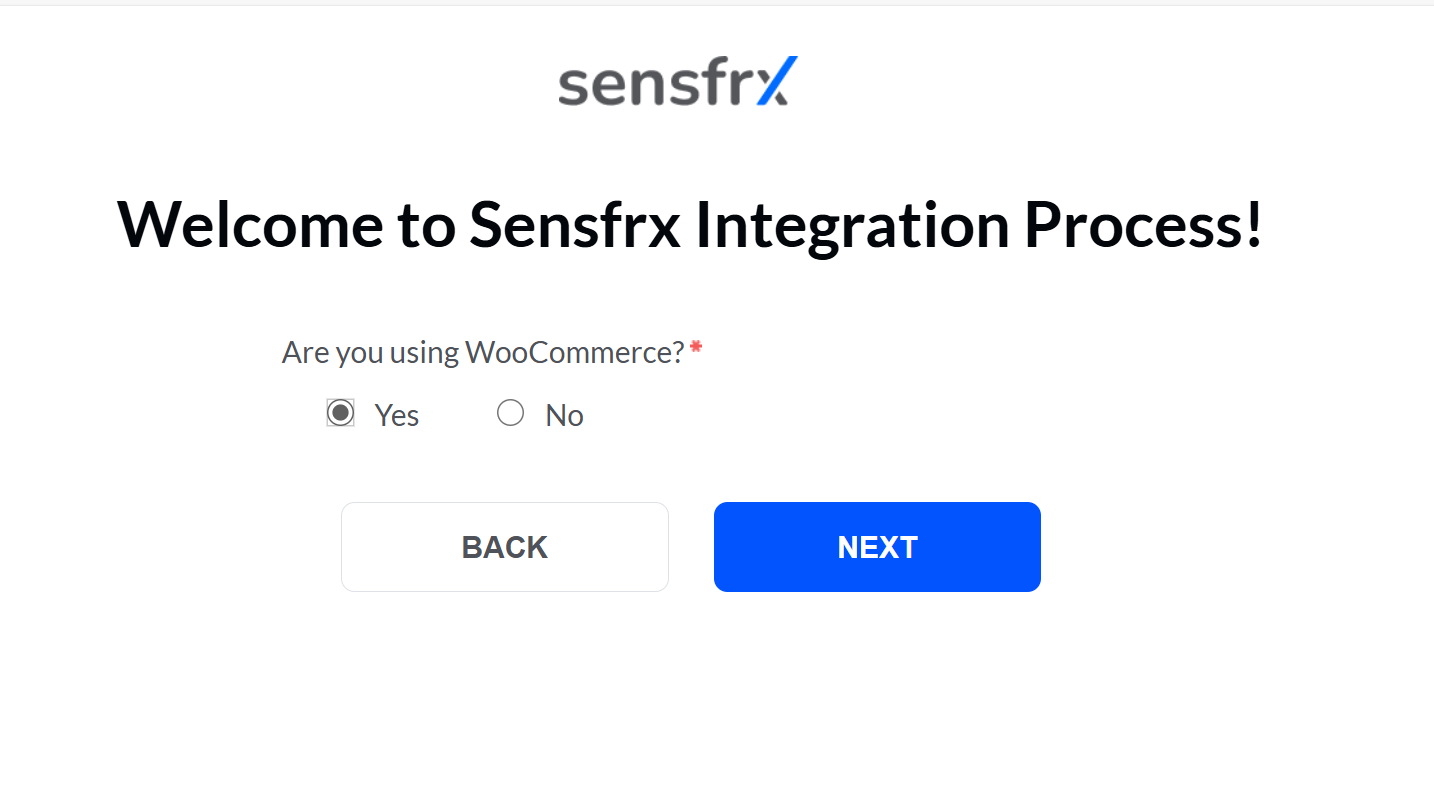
1.3 Select No and click on Next.
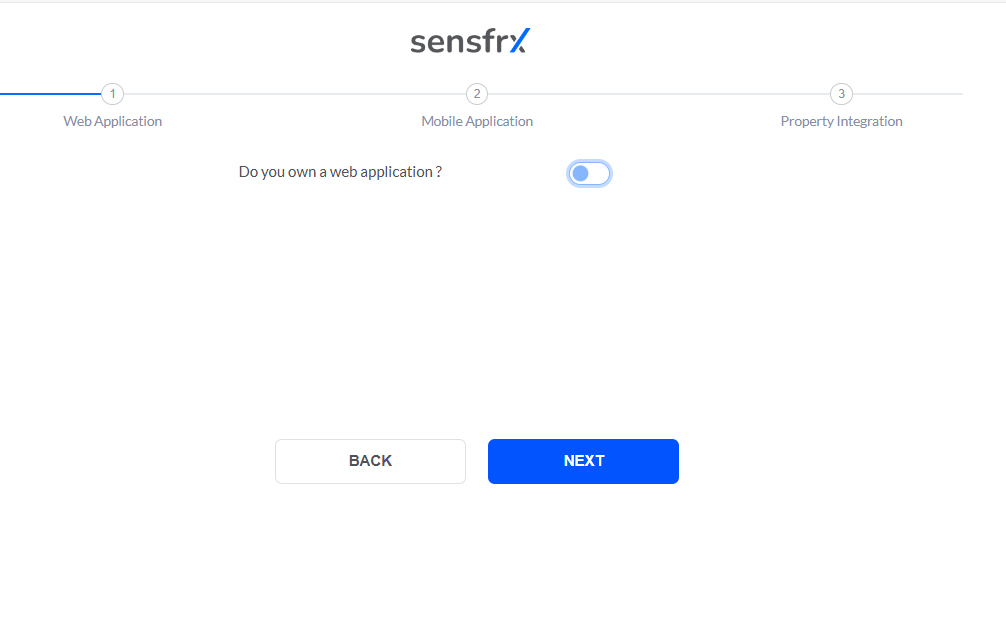
1.4 Switch off the radio button if you don’t want Sensfrx integration for your web application and click Next.
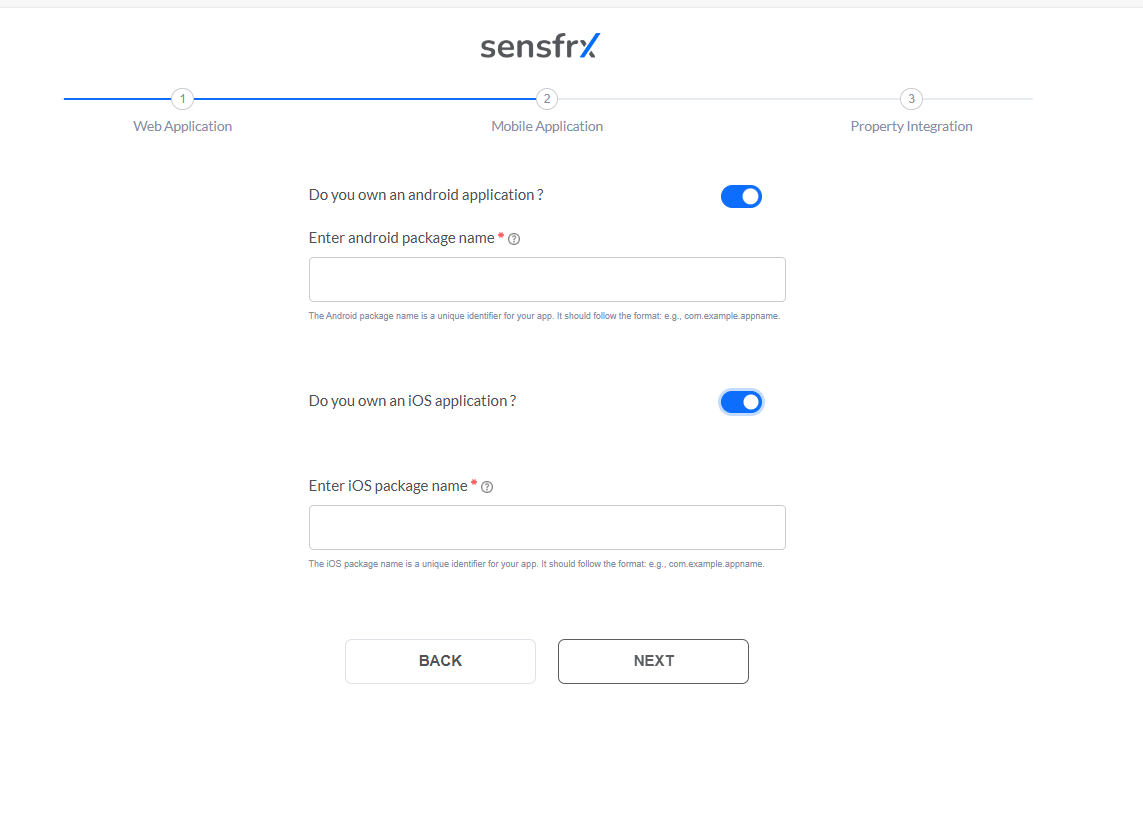
1.5 Select/Unselect the respective radio buttons, fill in the required details that is Android package name and iOS package name, and click Next.
Note: You can select the applicable fields, which may include one or both options. The format for the package name should be com.example.yourapp.
Step 2: Add your property
If you already have a property ID and property secret, please proceed to Step 3. If not, continue reading for further instructions.
2.1 The Property ID field will be pre-filled and click on Generate Secret to get Property secret.
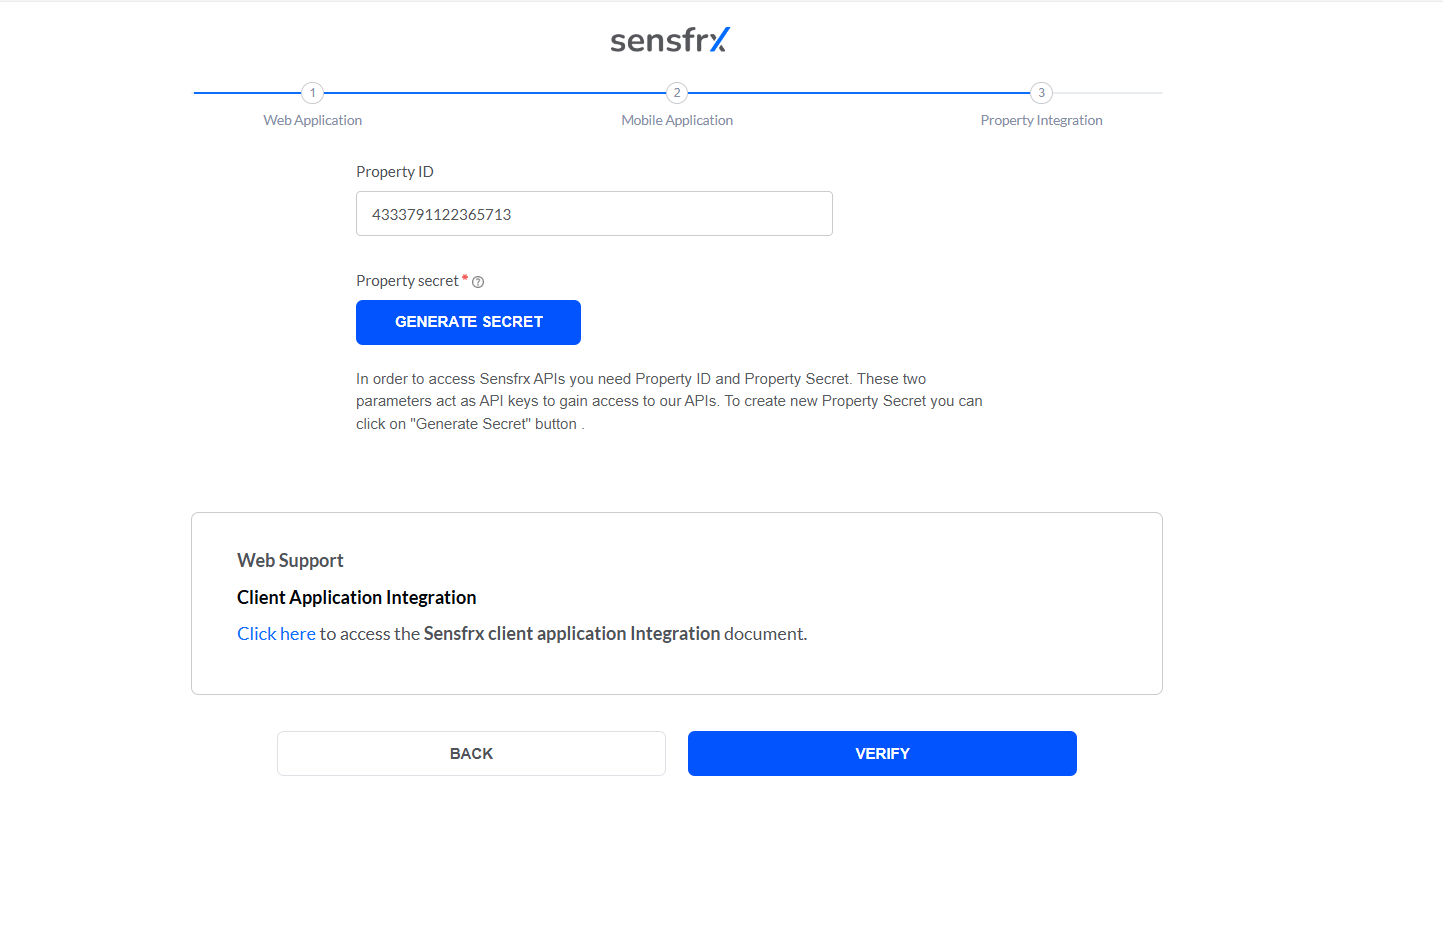
2.2 You will get the property secret and click on the Verify button.
Step 3: SDK Integration
After getting the property secret you will need to integrate Sensfrx mobile SDK in your codebase. The integration process includes installation and configuration with language support provided for Java and Kotlin.
The steps below will guide you through the process of configuring the Sensfrx SDK for your mobile application.
Prerequisites
minSdkVersion: 21
Supported OS Version: Android 4.0.3+ (Ice Cream Sandwich)
Permissions:
Internet (android.permission.INTERNET)
Location (android.permission.ACCESS_FINE_LOCATION)
Development Tools: Android Studio 3.0+ with Gradle build system
3.1 Installation
Add JitPack Repository:
In your project-level build.gradle file, add the JitPack repository to the list of repositories:
allprojects
 {
  repositories {
 maven { url 'https://jitpack.io'
}
 }
}
Add the Dependency:
In your app-level build.gradle file, include the SensFRX SDK as a dependency:
dependencies {
implementation 'ai.sensfrx:1.0.0'
 }
3.2 Configuration
Initialization:
In your application's main class (usually a subclass of Application), initialize the SensFRX SDK in the onCreate method.
Below are the code snippets supporting languages Java and Kotlin.
Java:
public class MyApp extends Application
{
 @Override
public void onCreate()
{
super.onCreate();
   SensFRX.configure(this, sandboxMode : false, secret: secretKey);
 }
}
In the above code snippet replace the secretKey value with your property secret key.
Kotlin:
class MyApp : Application()
 {
override fun onCreate()
{
 super.onCreate()
   SensFRX.configure(this, sandboxMode : false, secret: secretKey)
  }
}
Step 4: Generate a Request Token
To interact with SensFRX, generate a request token, which is used for authenticating interactions. The code snippet below is used for getting these details.
Java:
String token = SensFRX.getRequestToken(); Kotlin:
val token = SensFRX.getRequestToken() Step 5: Integrate Event Tracking
Event tracking refers to the process of monitoring and recording specific user interactions or events within the application that help with the process of collecting specific user data for fraud prevention activities.
In Sensfrx we have 4 events that are:
Application events
Location events
Screen change events
Click events
5.1 Application Events
The application events help track lifecycle events, such as when the app becomes active. To integrate application events monitoring use the below code snippets:
Java:
SensFRX.trackAppEvent("active"); Kotlin:
SensFRX.trackAppEvent("active") 5.2 Screen Change Events
The screen change event captures screen transitions to analyze navigation patterns. To integrate screen change events, use the below code snippets:
Java:
SensFRXFragmentLifecycleCallbacks.trackFragmentChange(this); Kotlin:
SensFRXFragmentLifecycleCallbacks.trackFragmentChange(this) 5.3 Click Events
The click events help monitor user clicks to identify potentially suspicious interactions:
To integrate click events, use the below code snippets:
Java:
SensFRX.trackClickEvent(event); Kotlin:
SensFRX.trackClickEvent(event) 5.4: Location Events
The location event capture location data to enhance fraud detection by analyzing the geographic behavior of users.
Use the code below to enable location event tracking.
Java:
SensFRX.trackLocation(location); Kotlin:
SensFRX.trackLocation(location) Error Handling
Error handling is crucial to ensure smooth integration and operation of the SensFRX SDK. Below are common issues and their solutions:
Network Issues: Ensure that the app has internet access and that no firewall or proxy is blocking the requests.
Invalid Keys: Double-check the secret key or API key used during the configuration.
Token Expiration: Tokens may expire, necessitating a fresh token request before proceeding.
Event Queue Failures: Ensure that your event queue isn't blocked by other processes, and that it's being flushed periodically.
Logging and Debugging
Enable detailed logging to diagnose issues during the integration and testing phases:
Android: Use the Logcat tool in Android Studio to monitor SDK logs.
Best Practices
Regular Updates: Keep the SDK updated to benefit from the latest security improvements and features.
User Privacy: Ensure compliance with GDPR and other privacy regulations by managing how user data is collected and stored.
Testing: Perform thorough testing across various devices and OS versions to ensure stability and compatibility.
Support
For further assistance, contact support at support@sensFRX.com or visit our developer portal for additional resources.