Woocommerce Extension
Sensfrx plugin monitors and secures the WooCommerce user journey against potentially fraudulent activities, protecting sensitive data. By leveraging various fraud signals, Sensfrx helps reduce fraud losses and chargebacks. Using a cognitive engine model trained on end-user data, Sensfrx distinguishes between legitimate and fake users, providing real-time solutions to detect and prevent online fraud.
Overview
This document outlines the installation of the Sensfrx fraud prevention plugin for WooCommerce. It helps business owners protect their stores from fraud and spam by enhancing fraud detection in new accounts, login, and order forms, all while ensuring a smooth user experience.
How Does the Sensfrx Woocommerce Extension Work?
Sensfrx provides real-time risk scores from signup to order placement on WooCommerce. If a high-risk score is detected, it flags the transaction or user as malicious and applies actions based on the WooCommerce policy.
To meet specific company needs and minimize losses, merchants can customize risk thresholds and score weights. Sensfrx analyzes every WooCommerce touchpoint to accurately detect fraudulent patterns. Its advanced blocking feature allows merchants to block users based on criteria such as browser, state, ZIP code, email, IP address, and more.
You can configure the Sensfrx plugin in your Woocommerce web application by following the below process:
Step 1: Create and setup your account
Step 2: Woocommerce Plugin Integration
Step 3: Verify
Before you begin the installation process, ensure that you have the following:
PHP version 7.4 or greater
HTTPS support
WordPress admin credentials
A WordPress memory limit of 256 MB or greater
Sensfrx's Property ID and Property Secret key
Sensfrx fraud engine integration for Woocommerce
.svg)
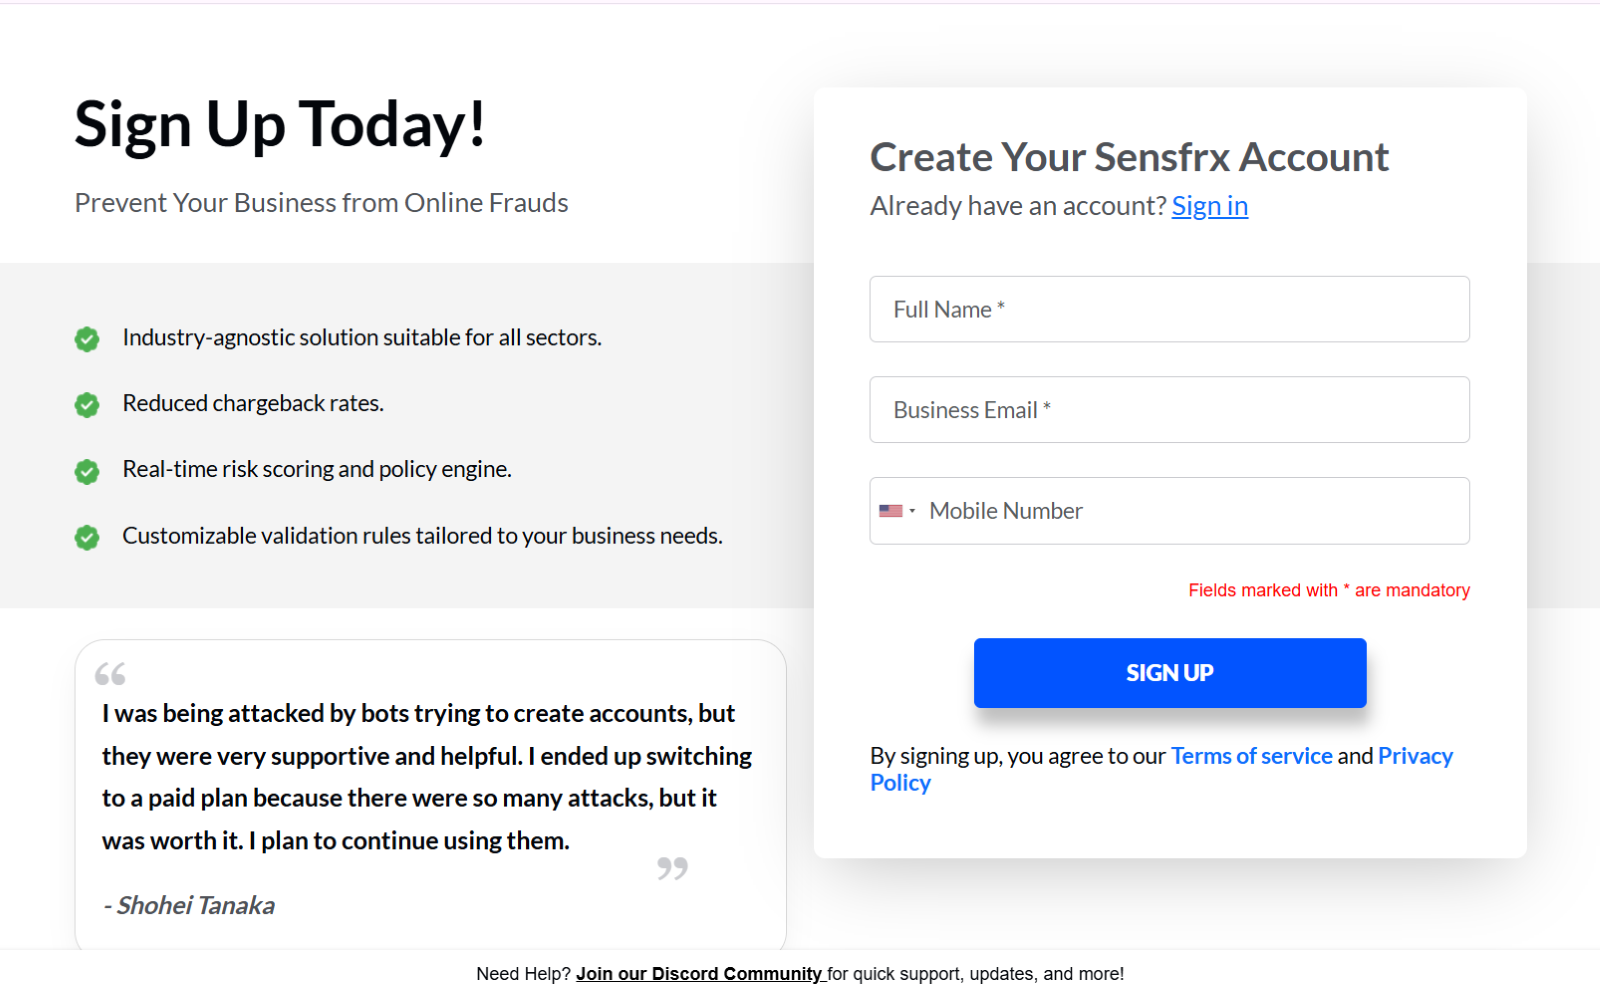
Step 1: Create and setup your account
Visit Sensfrx.ai
Complete the registration form with your full name (e.g., James Wilson), Business Email, and Mobile Number.
Complete the email verification process
After logging in, select the application type as 'Web Application', choose your industry, and click 'Next'.

Enter your website details and select WooCommerce from the drop-down menu for the service/software that you are using for your domain field
Click on START INTEGRATION

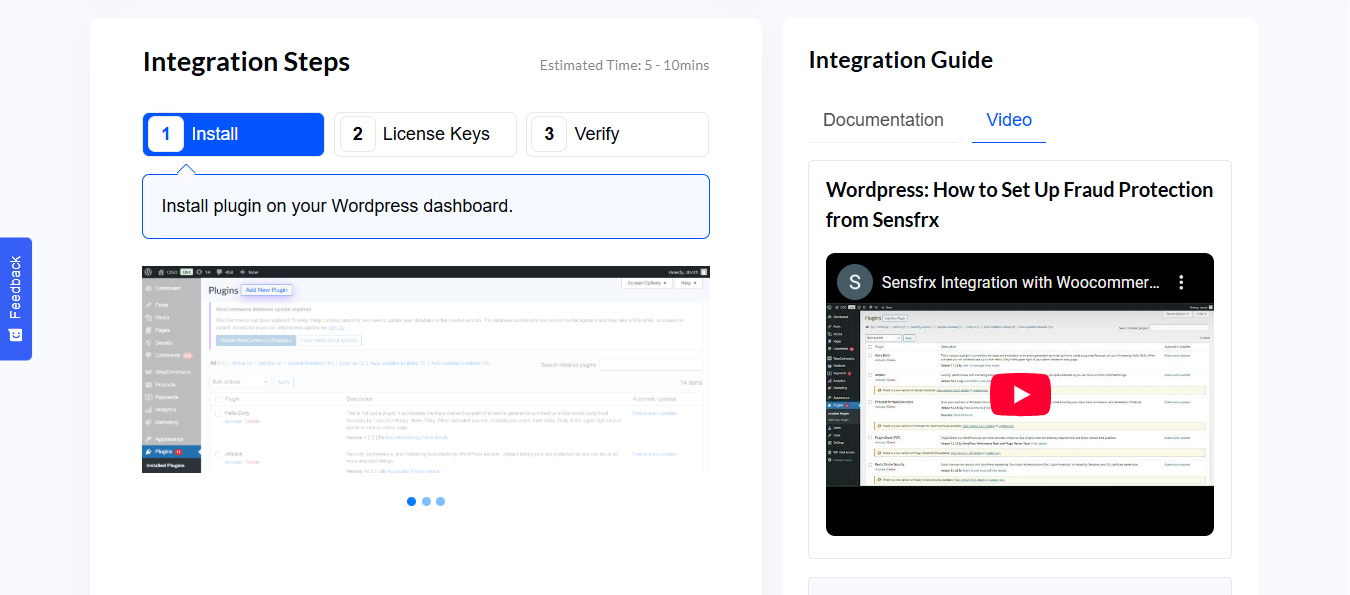
Step 2: Plugin Integration
Woocommerce Extension Installation
The Sensfrx plugin can be installed in three ways:
Automatic Plugin Installation: Install the Sensfrx plugin directly from the WordPress Plugins Directory using the built-in plugin installer.
Upload via WordPress Admin: Add a new plugin by uploading a zip archive of the plugin from your local computer through the WordPress admin panel.
Manual Plugin Installation: Manually upload the plugin using an SFTP client.
Let’s guide you through these different installation methods:
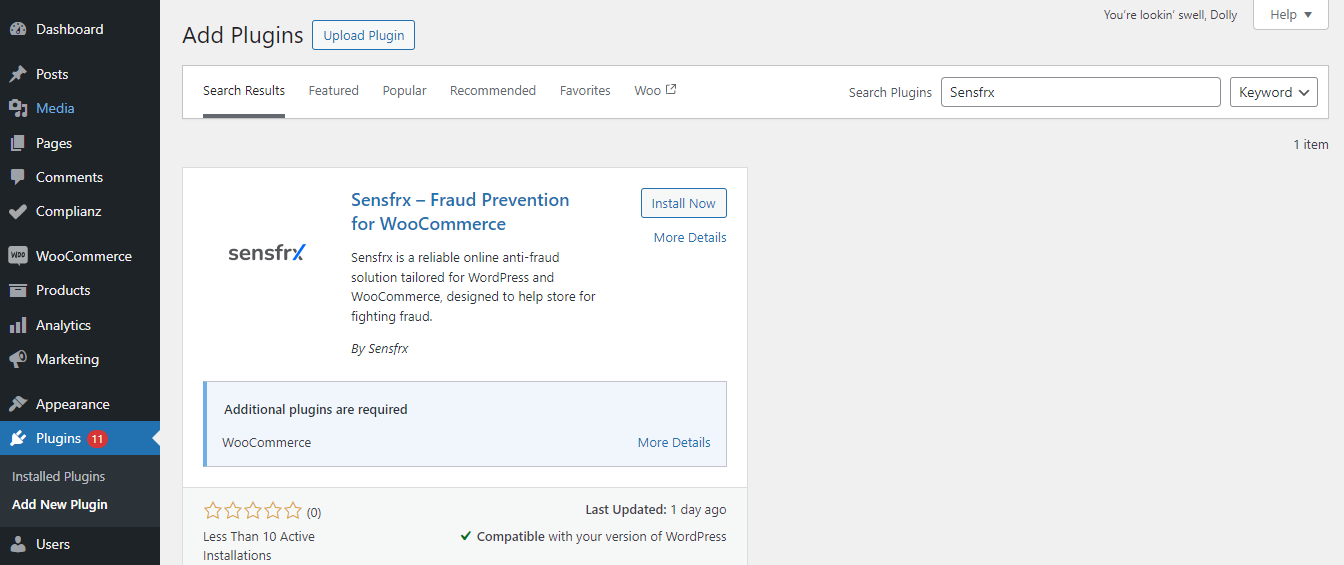
3.1 Automatic Plugin Installation
Login to Wordpress admin panel.
Navigate to Plugins > Add New Plugin

Enter “Sensfrx” in the “Search Plugins” bar and Sensfrx WooCommerce Fraud Prevention Extension will appear in the search result. Make sure to read about installation notes, plugin documentation, or other useful information.
Click on the “Install Now” option to install the plugin.
Once the installation is complete, click on the “Activate” option to activate the plugin.
Once the plugin is activated, users will be redirected to the Plugin description page.
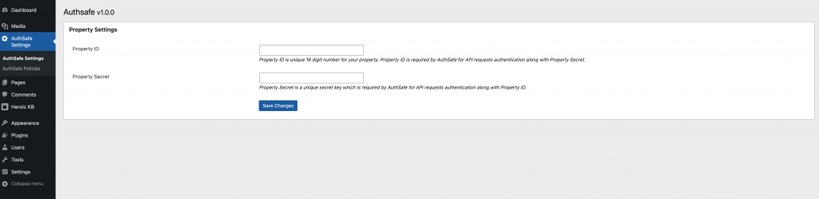
7. Click on the “Settings” icon of the Sensfrx Fraud Prevention Plugin page.
8. Enter the Property ID and Property Secret. You can get the Property ID and Property Secret by navigating to the License Keys tab as shown below: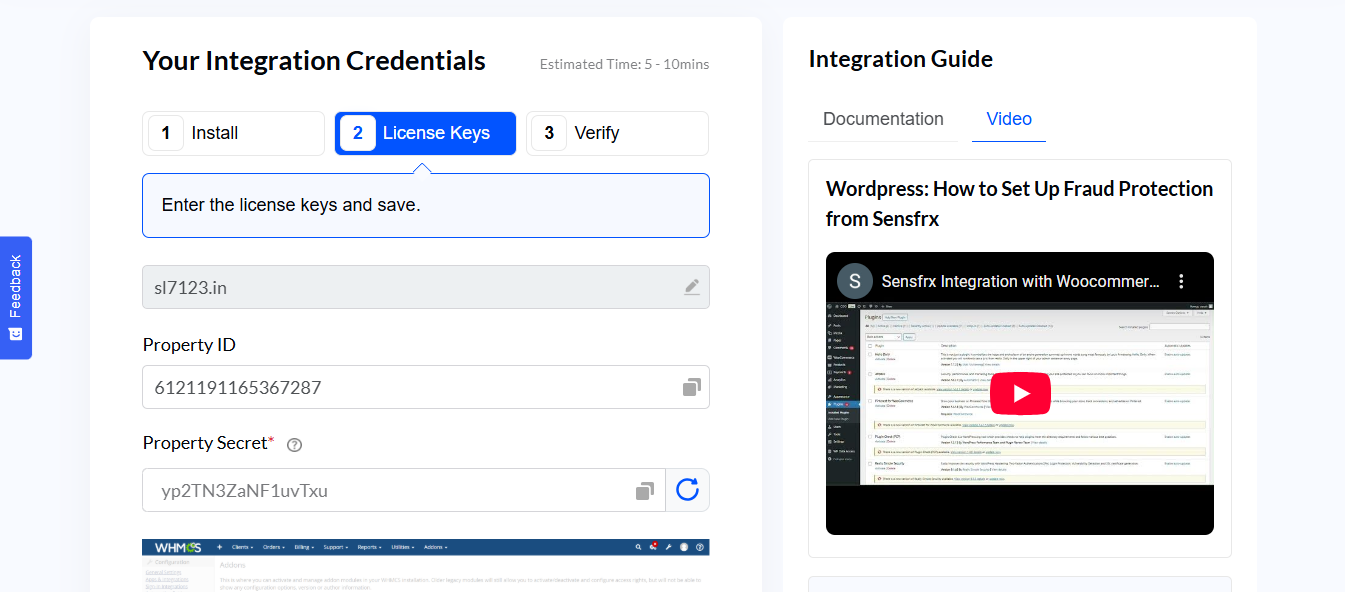
Once done, click on the Save Changes option to retain the changes made on the settings page.
Congratulations! The Sensfrx WooCommerce fraud prevention extension is successfully activated.
3.2 Upload via WordPress Admin
To download the Sensfrx extension via WordPress admin, users need to go to the WordPress admin panel's plugins page and download the plugin zip file. Once the zip file is downloaded, users need to follow these steps:
1.Navigate to Plugins > Add New.
2. Click on the ‘Upload Plugin” button at the top of the screen.
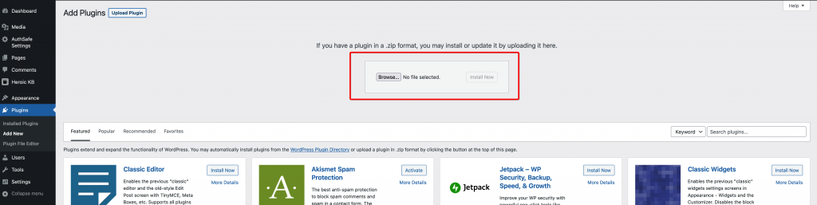
3. Browse and select the zip file from the local system and click on Install Now.

4. Once the installation is completed, users will see a message as “Plugin installed successfully.”
5. Now, click the “Activate Plugin” button.
Congratulations! The Sensfrx fraud prevention extension is successfully activated.
Note: Once the users have saved the correct Property ID and Proper Secret from the Sensfrx Panel, they must wait for 10 minutes to display the data on the Sensfrx Panel from the WooCommerce website.
3.3 Manual Plugin Installation
Important note: This procedure requires users to be familiar with the file transferring process using an SFTP client. It is recommended only for advanced users and developers.
In this method, users need to install a plugin manually by transferring files onto the server. However, this method is recommended in exceptional cases. For example, if the server is not configured for automatic installations.
Here are the detailed instructions to manually install a WordPress plugin by transferring the files onto the web server.
Download the plugin's .zip file from the plugin repository or from a third-party website. Ensure it is compatible with your WordPress version.
Use an FTP client like FileZilla or access the File Manager in your hosting provider's cPanel
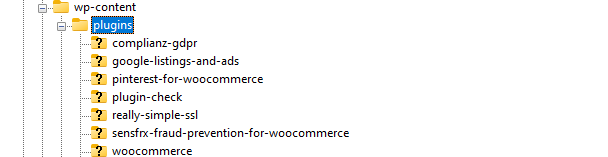
Go to the directory: /wp-content/plugins/ in your WordPress installation.

Extract the plugin's .zip file from your local computer.
Upload the extracted plugin folder to the /wp-content/plugins/ directory using FTP or the File Manager.
After uploading, go to your WordPress Dashboard and navigate to Plugins > Installed Plugins.
Locate the newly uploaded plugin and click Activate.
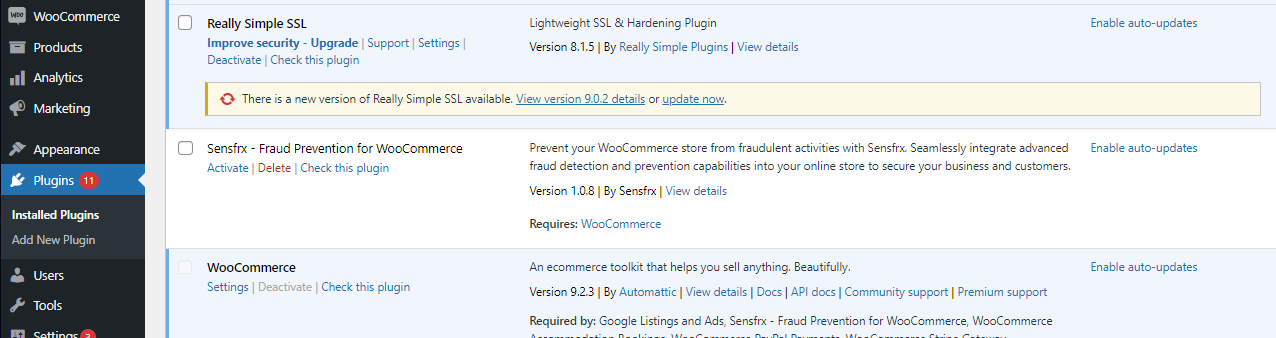
The plugin is now installed and activated manually!
Note: After saving the correct Property ID and Property Secret from the Sensfrx Panel, users should wait 10 minutes for the data to appear on the Sensfrx Panel from the WooCommerce site.
Step 3: Verify
Once you have configured the WooCommerce plugin, click on 'Verify' and then on the 'CONFIRM' button.
You can then access your Sensfrx dashboard.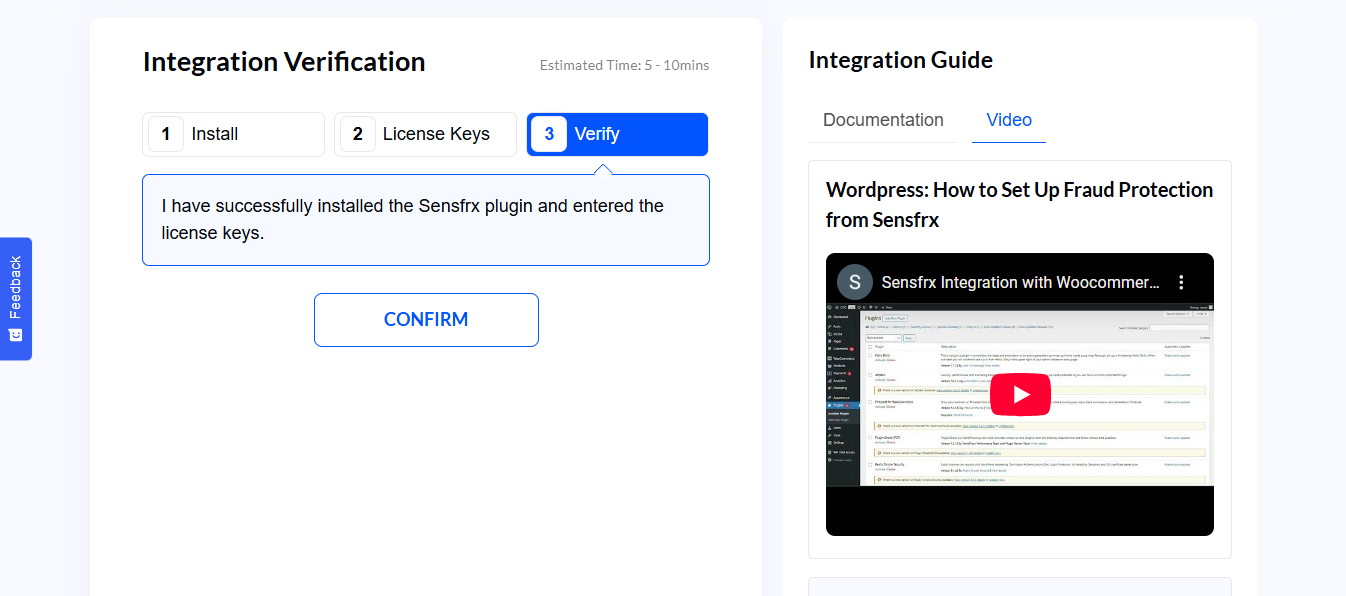
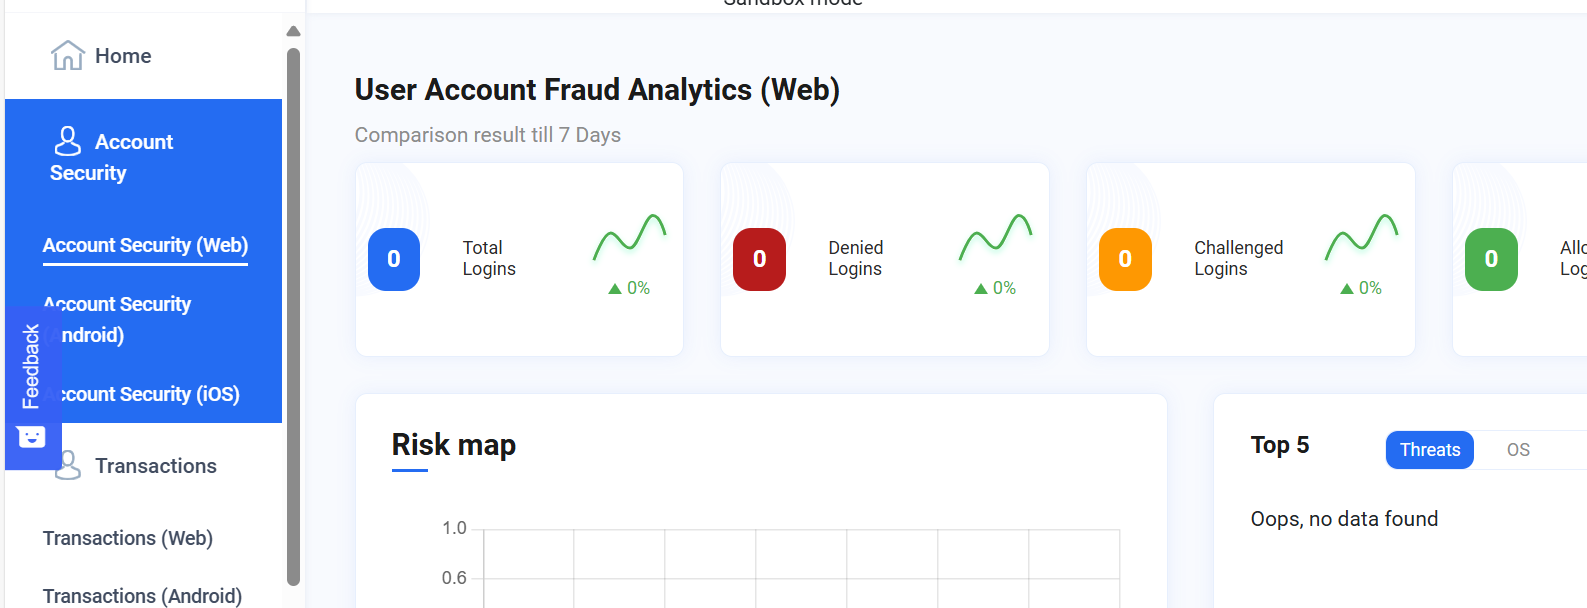
To confirm successful integration, follow the below steps:
Log in to the Sensfrx Dashboard.
Users will be able to see the increase in Accumulated Logs as seen below.
Videos for reference
https://www.youtube.com/watch?v=SYk-zegTlqc