Blesta Extension
Blesta is a client management and billing software commonly used by web hosting companies. Sensfrx seamlessly integrates with Blesta to improve fraud detection at login, ensuring a smooth user experience.
Overview
This guide details the process of integrating Sensfrx with Blesta using its dedicated extension. To incorporate Sensfrx into Blesta, users need to install and configure the corresponding module.
How Does the Sensfrx Blesta Extension Work?
When property integrated with Blesta, Sensfrx delivers proactive fraud prevention while maintaining user convenience. It quickly detects and blocks fraudulent activities in real-time, effectively protecting your business from online fraud.
You can configure the Sensfrx plugin in your Blesta web application by following the below process:
Step 1: Create and setup your account
Step 2: Blesta Plugin Integration
Step 3: Verify
Pre-installation Requirements
Most recent web servers that support PHP and MySQL® can run Blesta.
HTTPS support is required.
Blesta login credentials are necessary.
A memory limit of 256 MB or higher is recommended.
Step 1: Create and setup your account
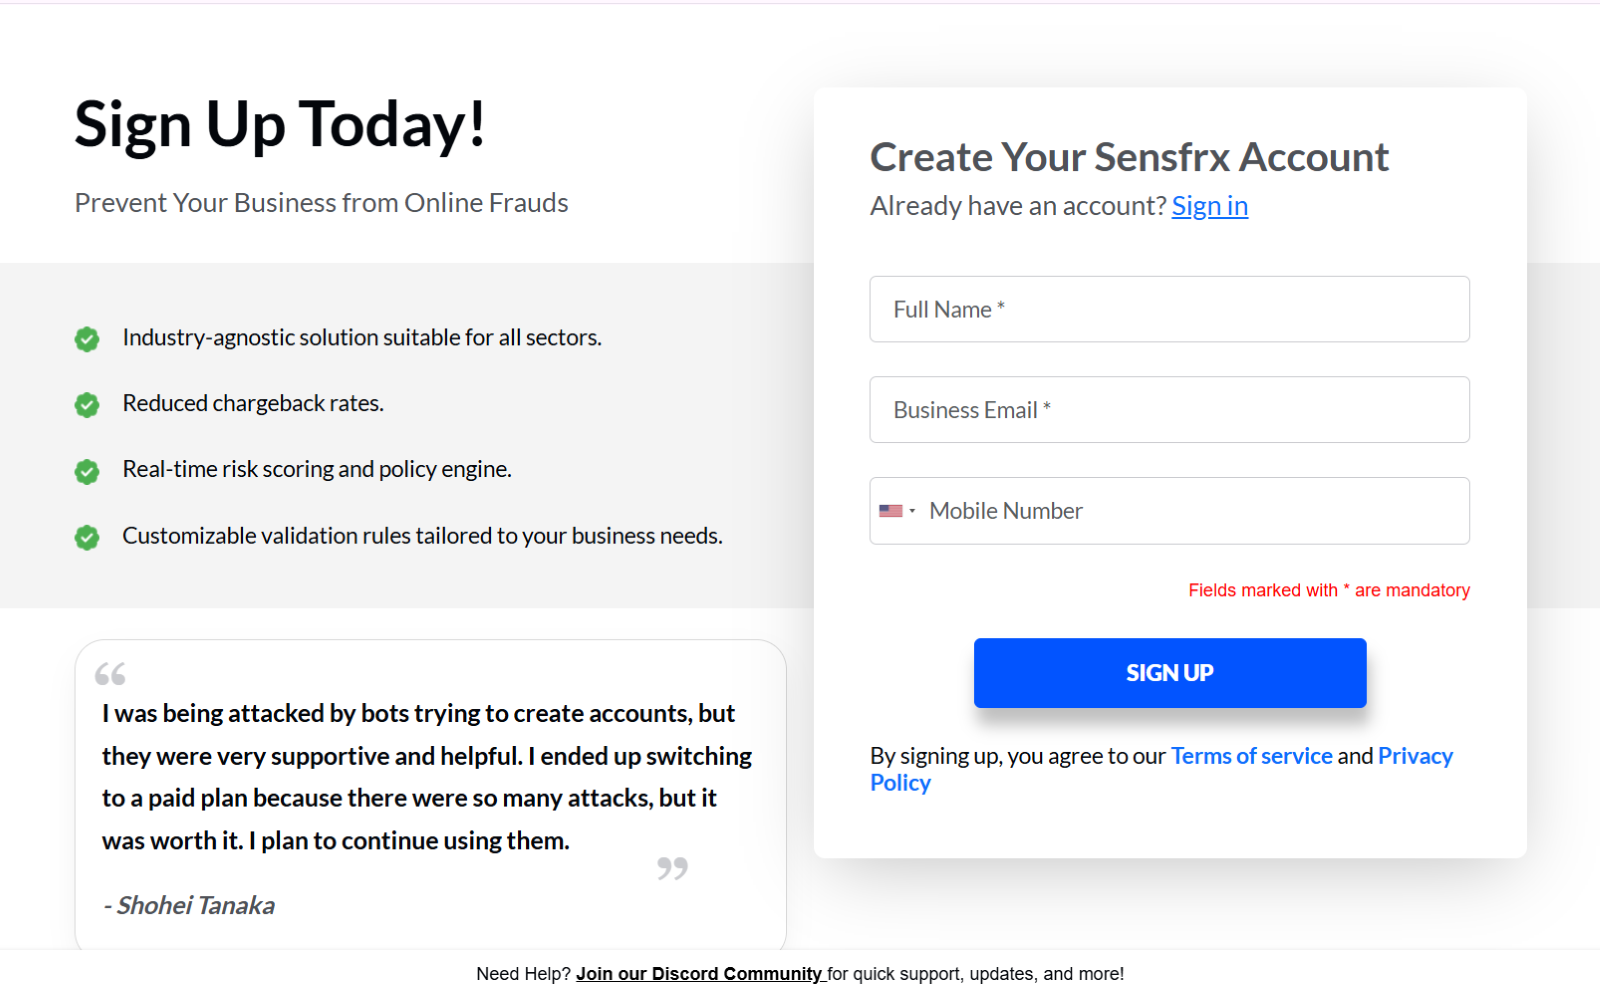
Visit Sensfrx.ai and sign up for a free trial.
Complete the registration form with your full name, email address and Mobile Number.
Complete the email verification process by logging into your email and verifying it.
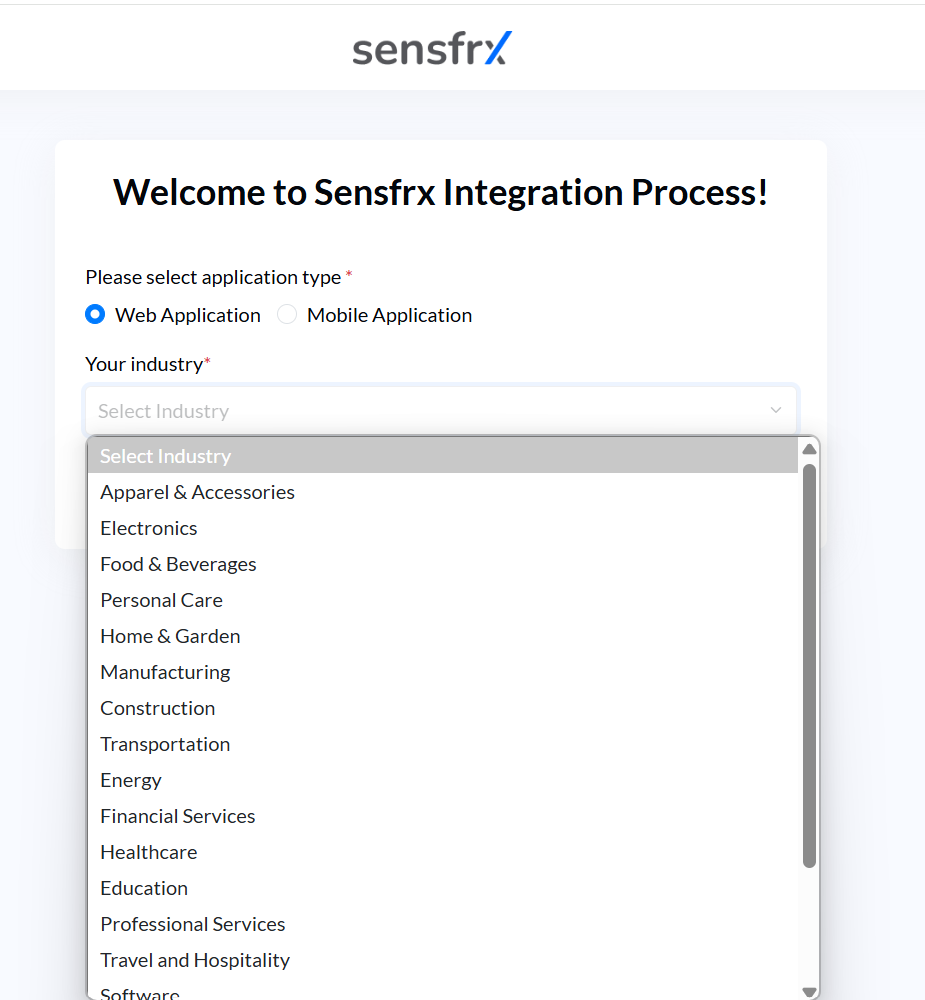
After logging in, select the application type as 'Web Application', choose your industry, and click 'Next'.
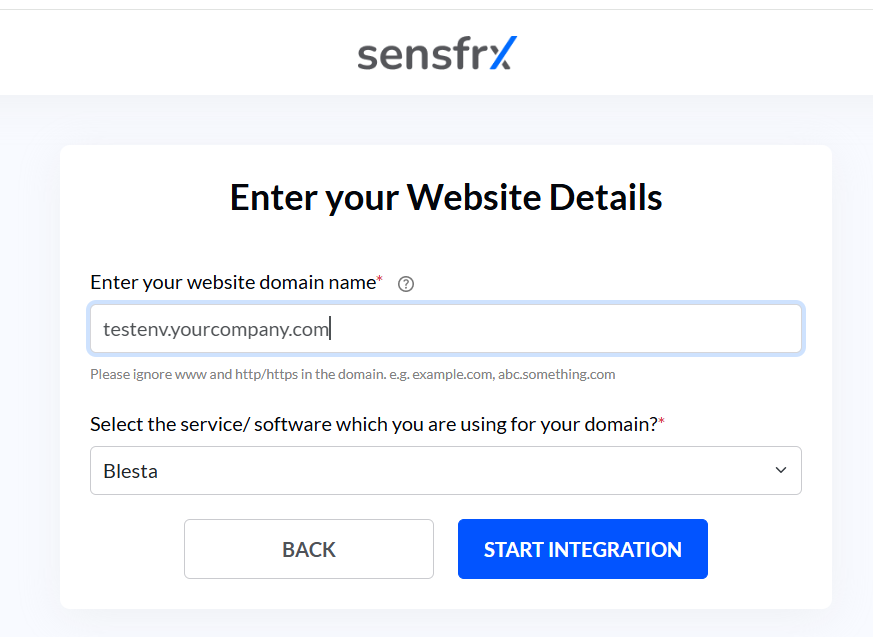
Enter your website details and select Blesta from the drop-down menu for the service/software which you are using for your domain field
Click on START INTEGRATION
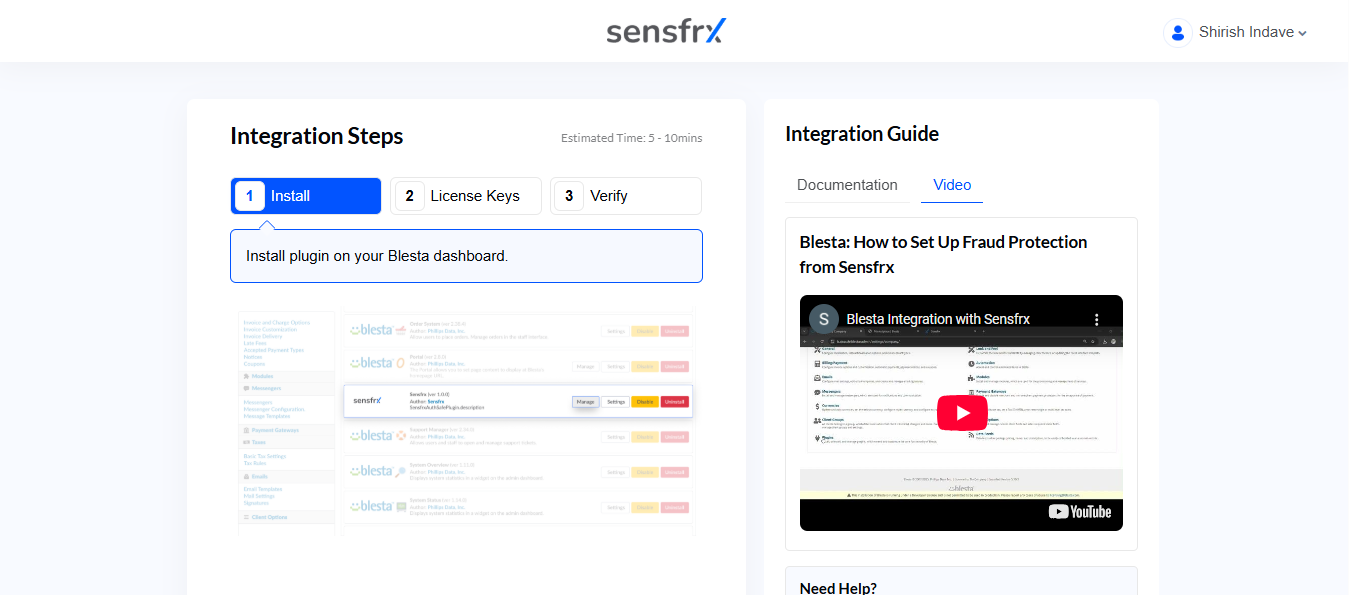
Step 2 – Blesta Plugin Integration

Make sure you have met all the specified prerequisites before installing the Sensfrx Blesta extension.
Follow these steps to install and configure the Sensfrx module:
Click here to download the Sensfrx module from the Blesta marketplace. A ZIP file will be downloaded to your system.
Unzip and Upload: Unzip the downloaded file and open your FTP client. Navigate to <blestadir>/plugins/ and upload the unzipped contents there.
Activate Module: Log in to the Blesta Admin and activate the Sensfrx Module.
Access Addon Modules: Go to “System Settings” and click on the “Addon Modules” option.
Activate Sensfrx: Find Sensfrx and click on the “Activate” button.
The Sensfrx module will now be successfully activated and visible in the header menu of Blesta.
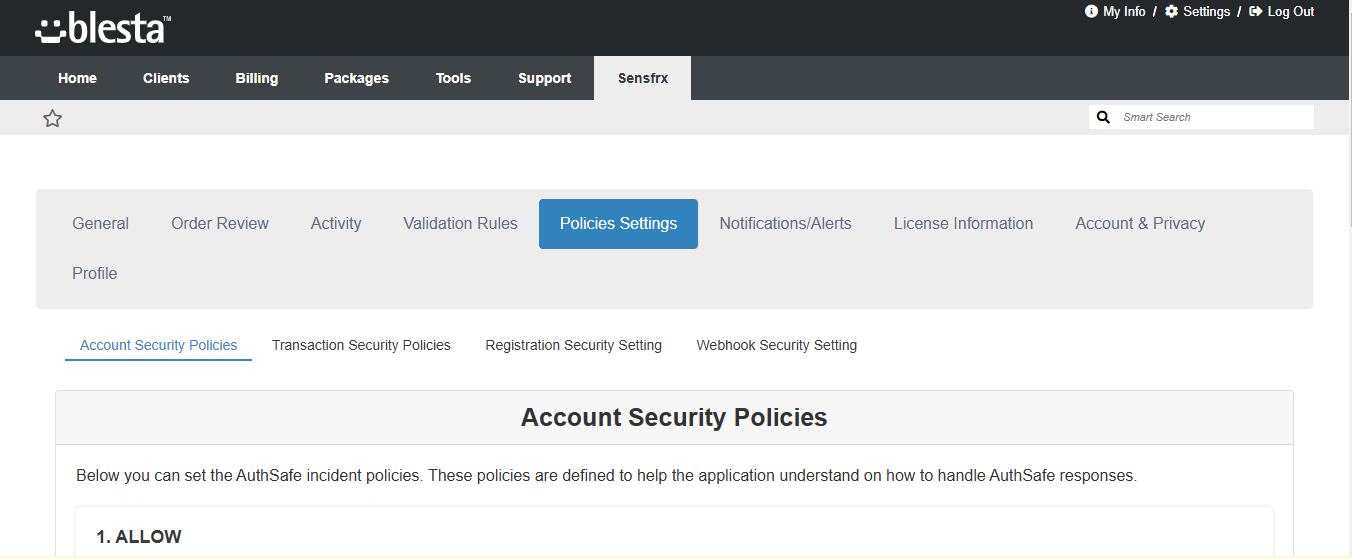
To integrate Sensfrx with Blesta, follow these steps:
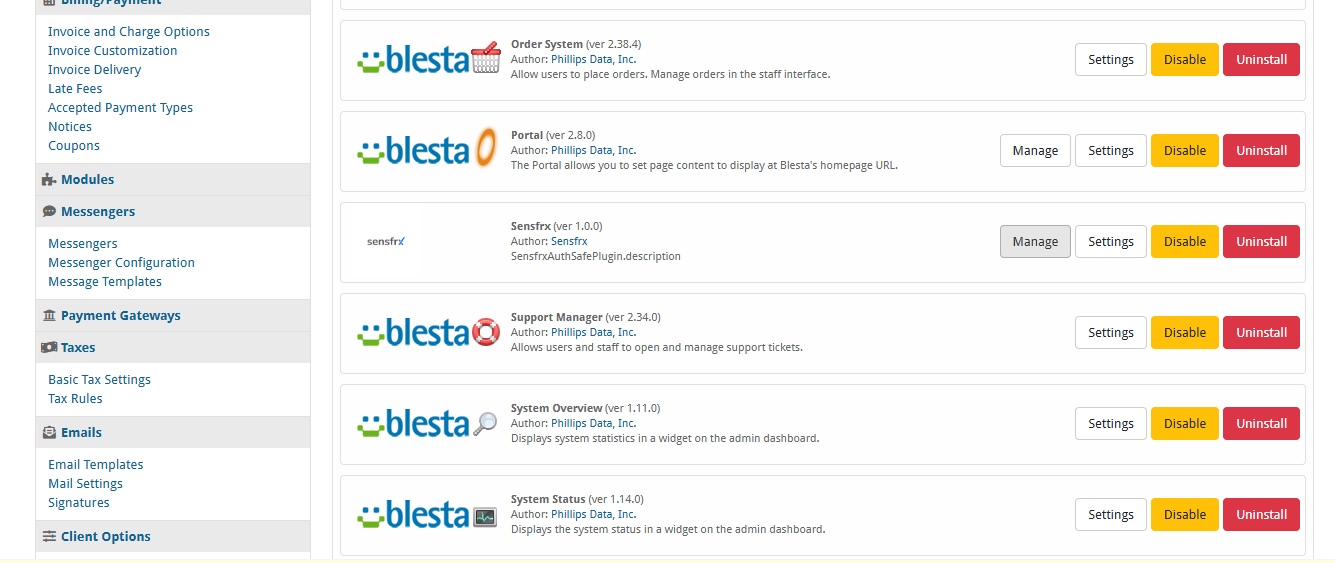
Open Plugins Page: Go to the Blesta Plugins page to activate and manage plugins.
Navigate to Sensfrx:
Go to System Settings > Plugins > Installed > Sensfrx.
Click on Manage.
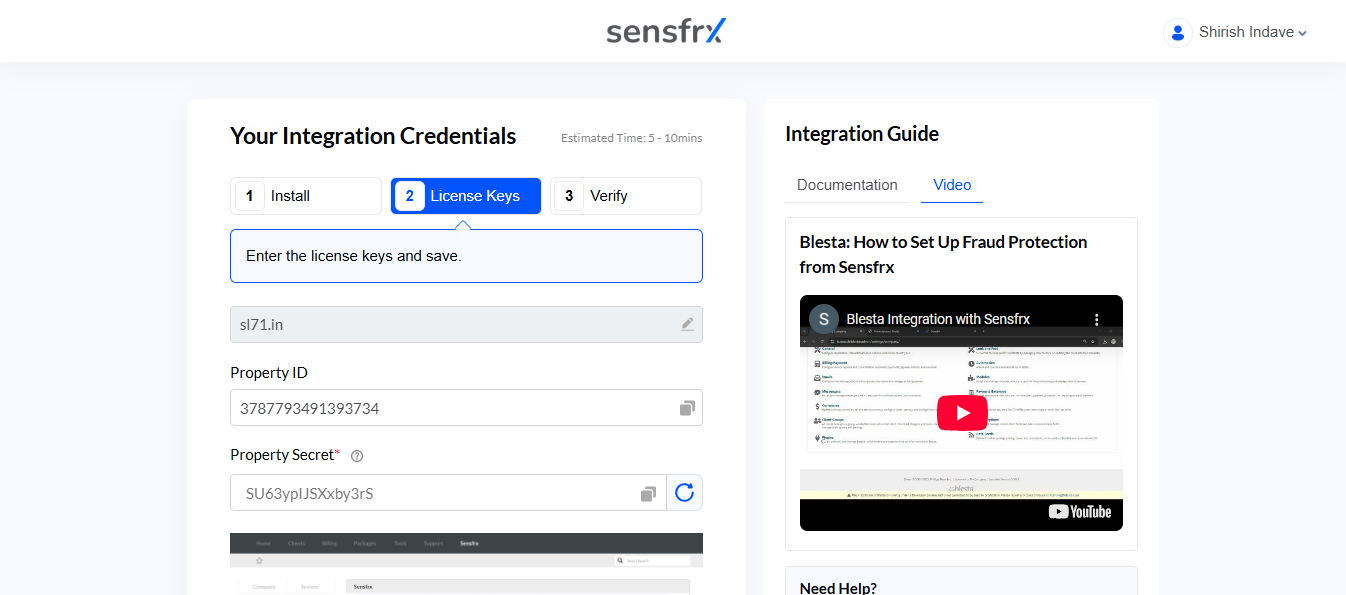
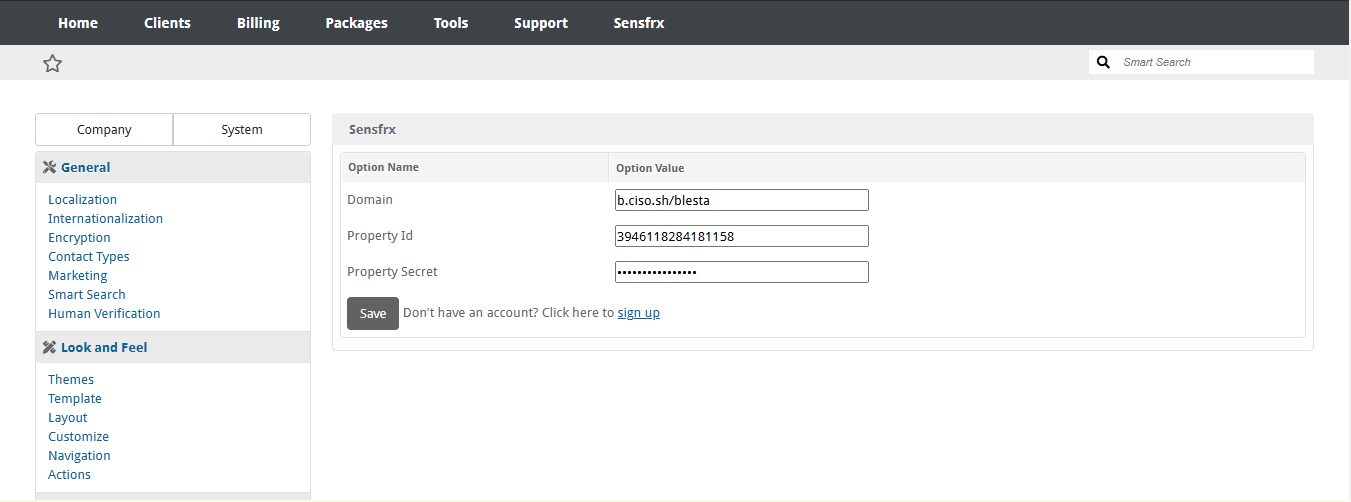
Enter Configuration Details: Enter the Domain Name, Property ID, and Secret Key. You can copy these details from the Sensfrx integration page by navigating to the License Keys tab as shown below.
Save Changes: After adding all the details, click on the “Save” button to apply the changes.
Set up the Sensfrx policy as required. Navigate to the Nav Bar and select Addons, then choose Sensfrx.

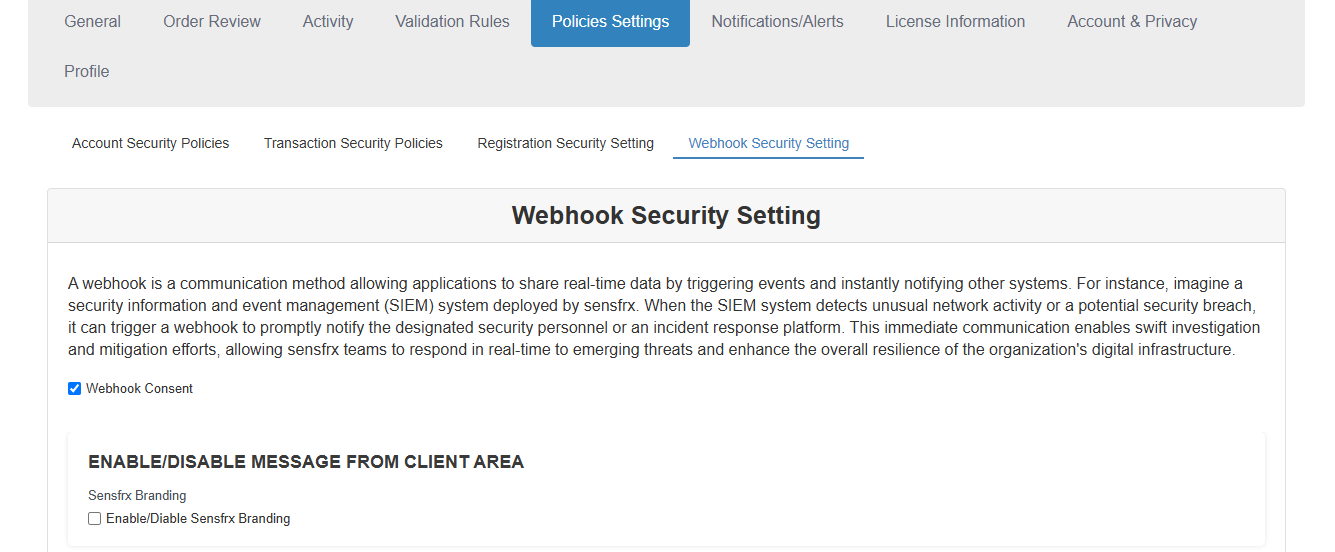
To authorize communication between the Blesta application and Sensfrx, follow these steps:
Click on the Sensfrx addon.
Click on the “Webhook Update” tab.
Step 3 – Verify
Once you have configured the Blesta plugin, click on 'Verify' and then on the 'CONFIRM' button. You can then access your Sensfrx dashboard. 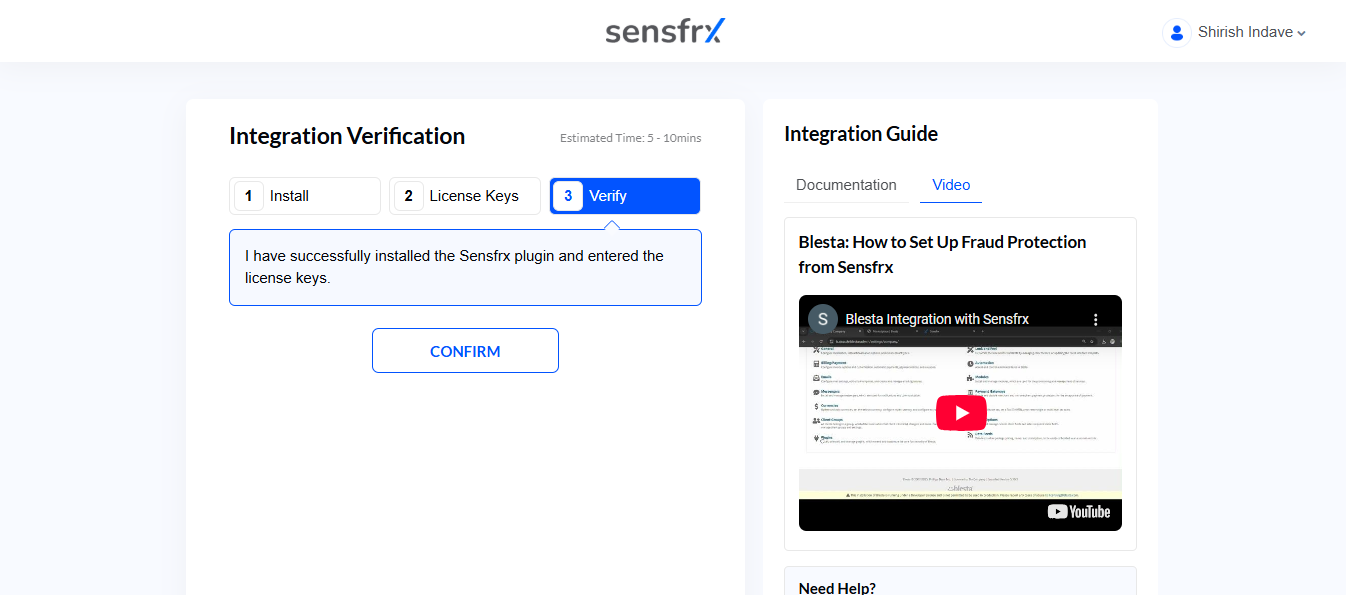
Click here to understand your Sensfrx dashboard.
For integration support, you can reach out to info@sensfrx.ai
Reference Links
Glossary
Property ID: This is the domain name that you want to install.
Property Secret: This is a secret key which is used to access the Sensfrx cognitive engine.
Property Name: Help users identify the property. (e.g. Example.com, Example Website, etc.)
Property Tracking Code: This is JavaScript code used for device fingerprinting.