Quick Start Guide
How to install the Sensfrx platform in your application.
Welcome to Sensfrx Documentation.
Sensfrx is a fraud prevention platform that uses cognitive intelligence technology to identify harmful activities such as risky logins, fake registrations, fraudulent transactions, and other suspicious actions. You can integrate Sensfrx into your web and mobile apps, including iOS and Android, to reduce the risk of fraud.
Below is a quick step-by-step guide to get started:
Step 1: Create and set up your account
Step 2: Generate API keys (License Keys)
Step 3: Client-side integration
3.1 Web Integration
3.2 Plugin and Extension
Step 4: Server-side integration
If you already have an account, please proceed to Step 2.
1.1 Sign up for a free trail to get started and enter all the details as required and you will receive a link in your email.
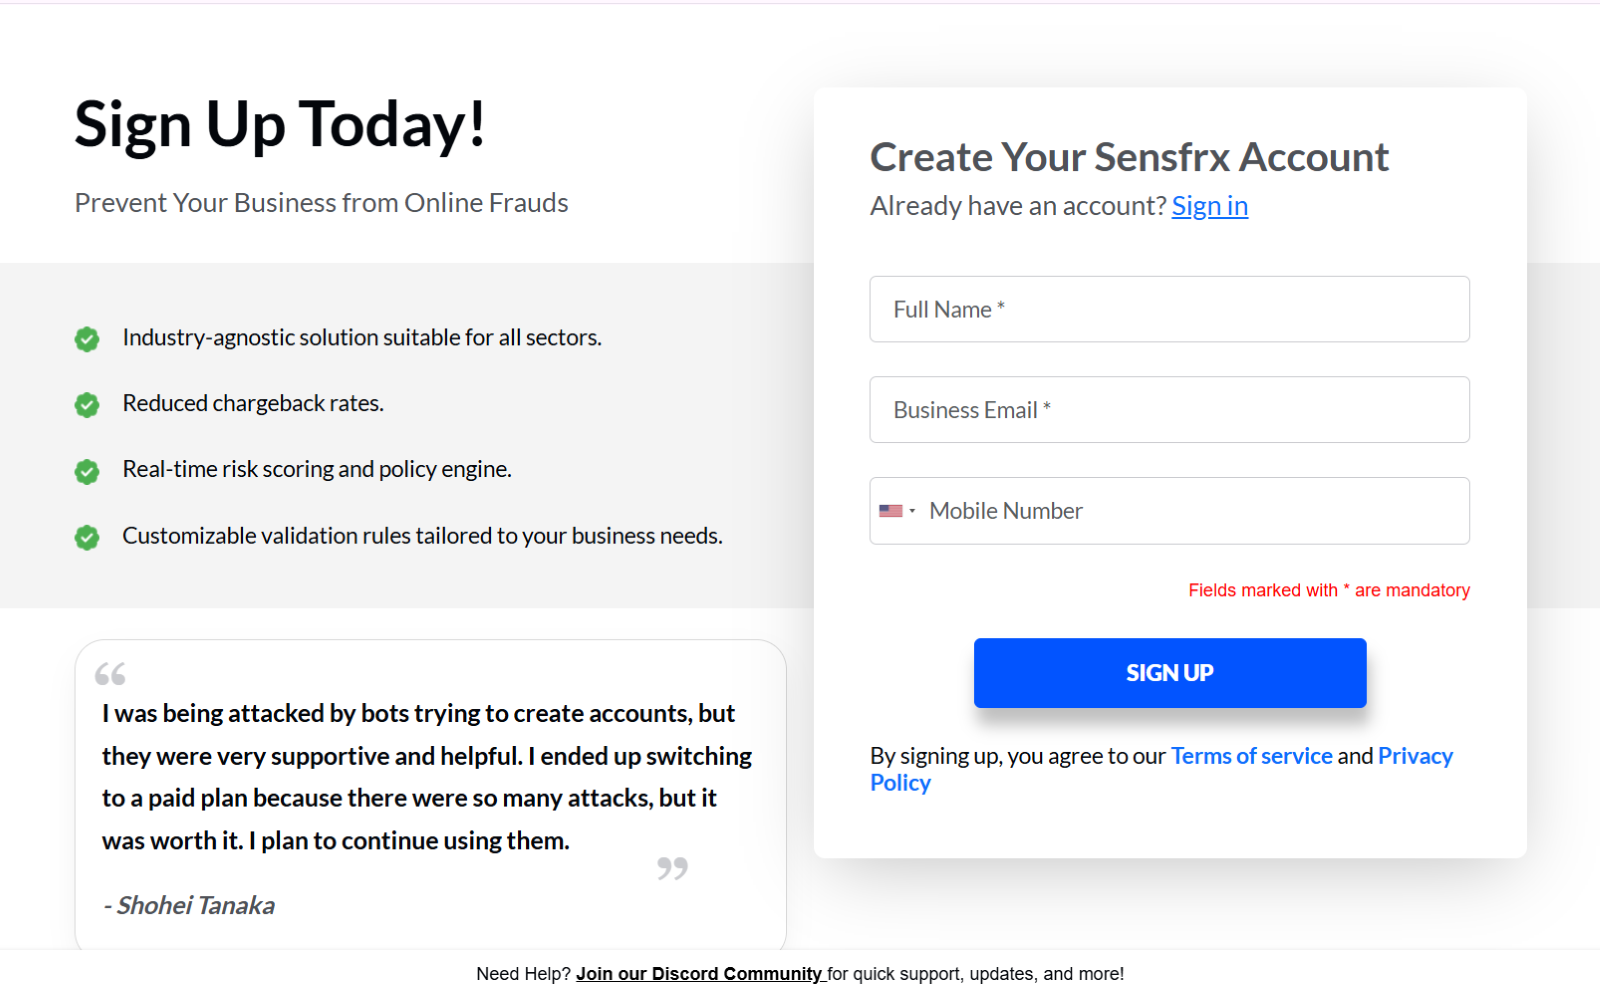
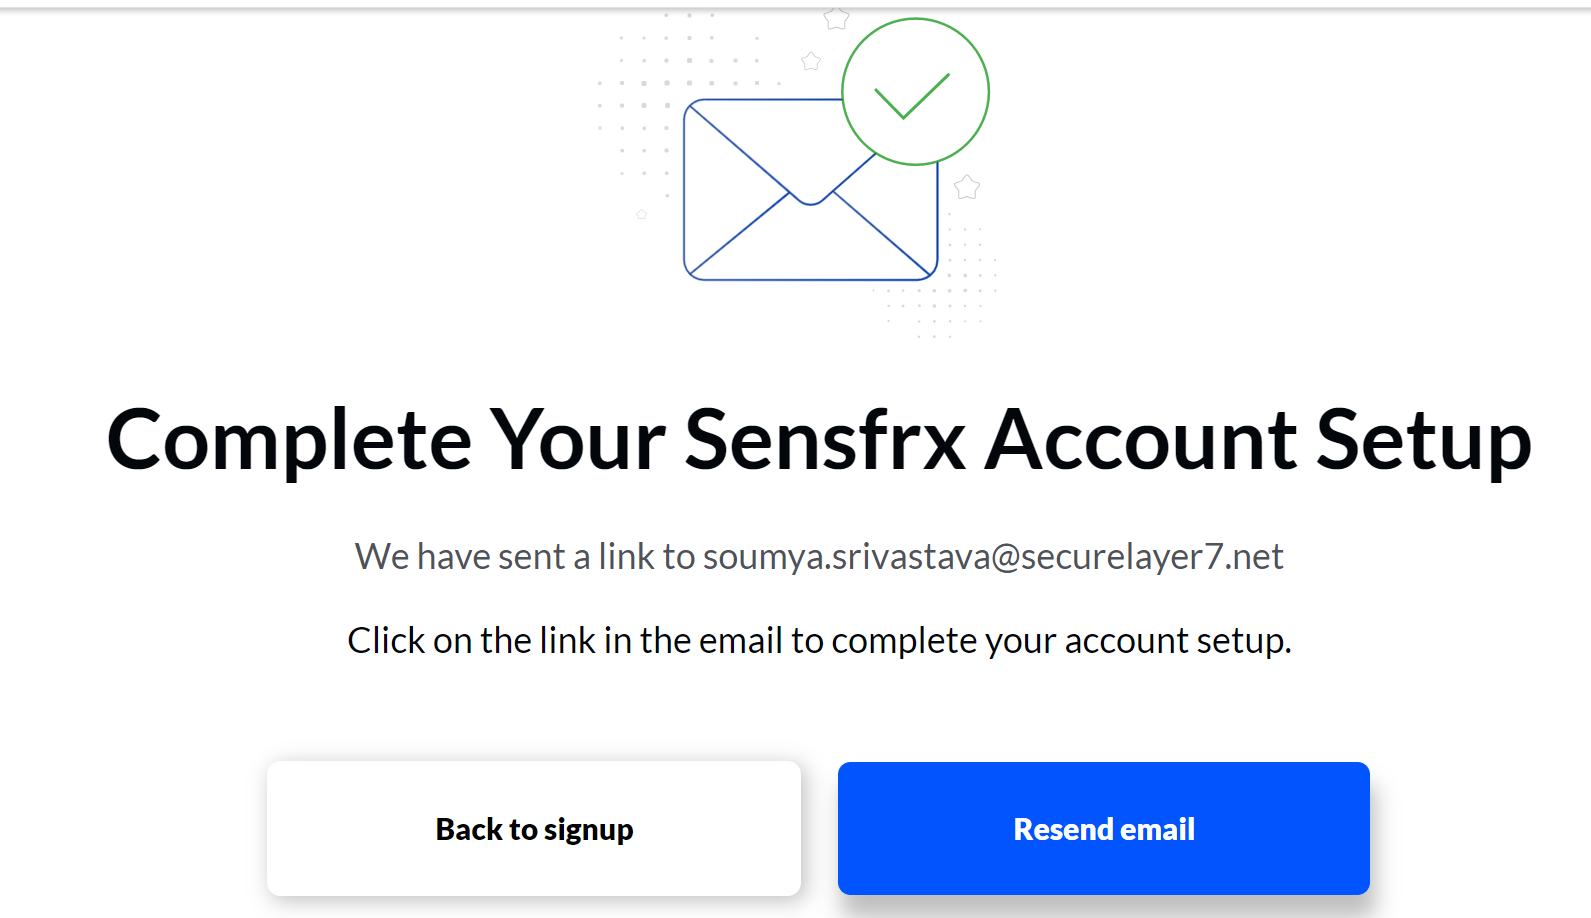
Image depicting screen after creating an account on Sensfrx
1.2 You will receive an email on your registered email ID, and you will need to click on the link provided.
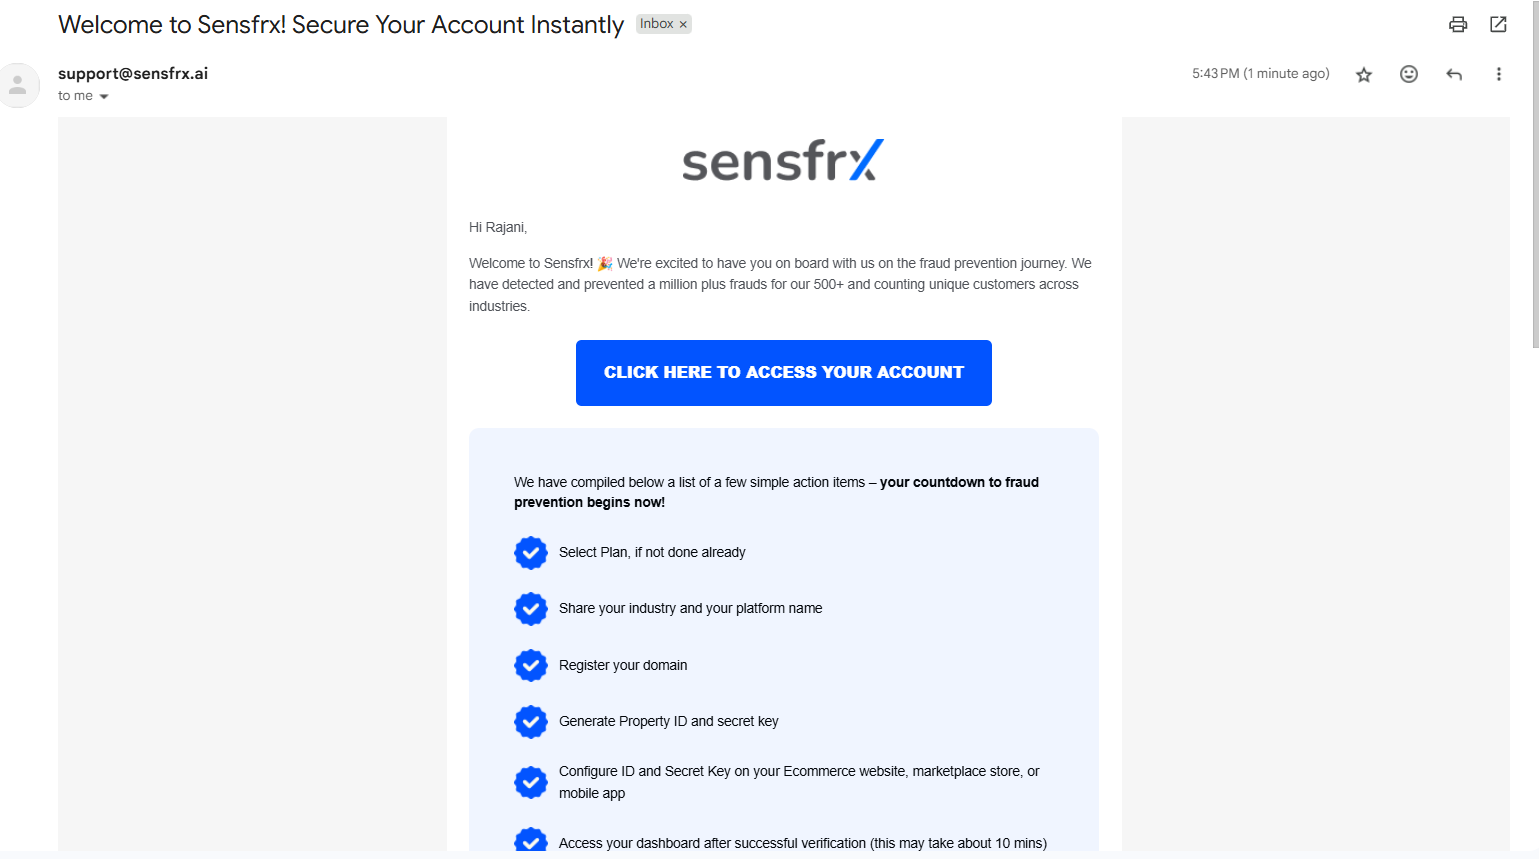
1.3 Once you click on the link received in the email the below window will appear where you will need to click on the Start Onboarding button.
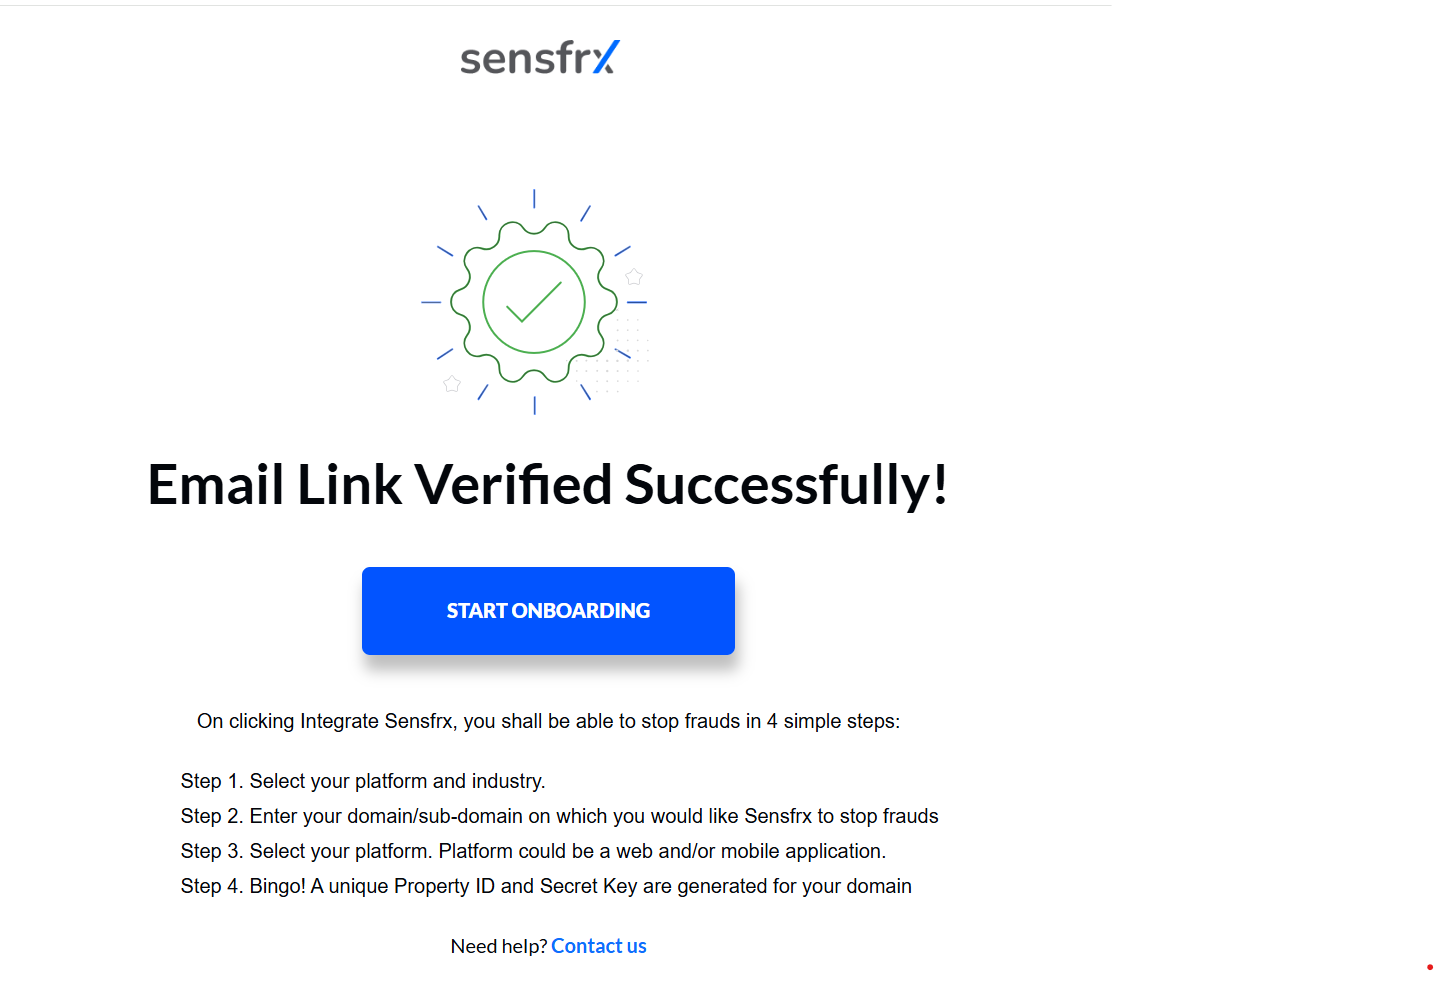
Image depicting screen after clicking on the link received in email
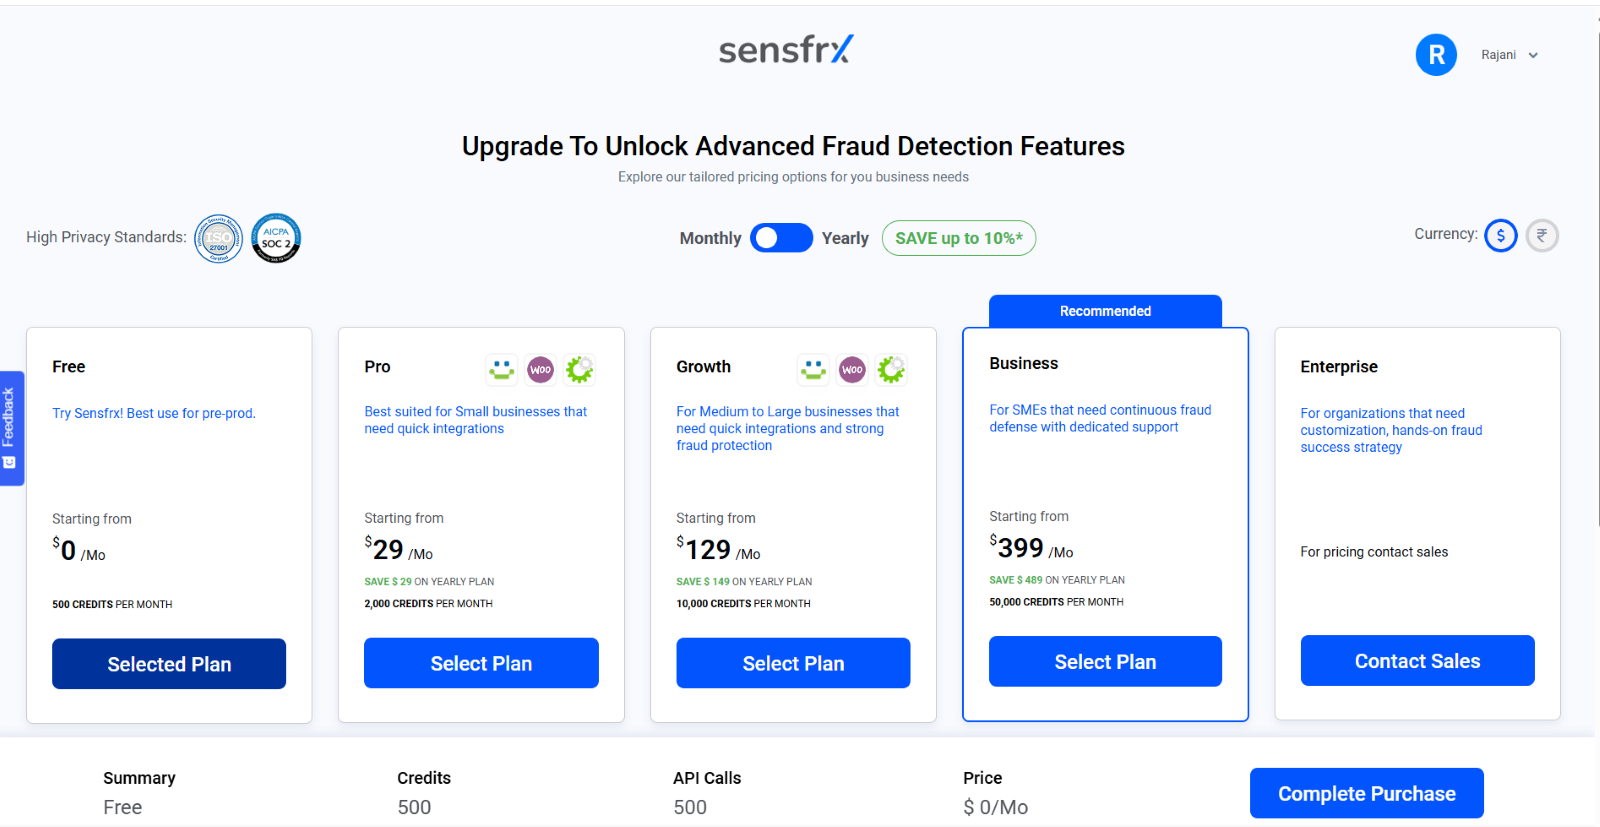
1.4 After clicking Start onboarding, you will need to select the plan and click on Complete purchase.
1.5 Select the option applicable to you, select your respective industry from the dropdown and click Next.
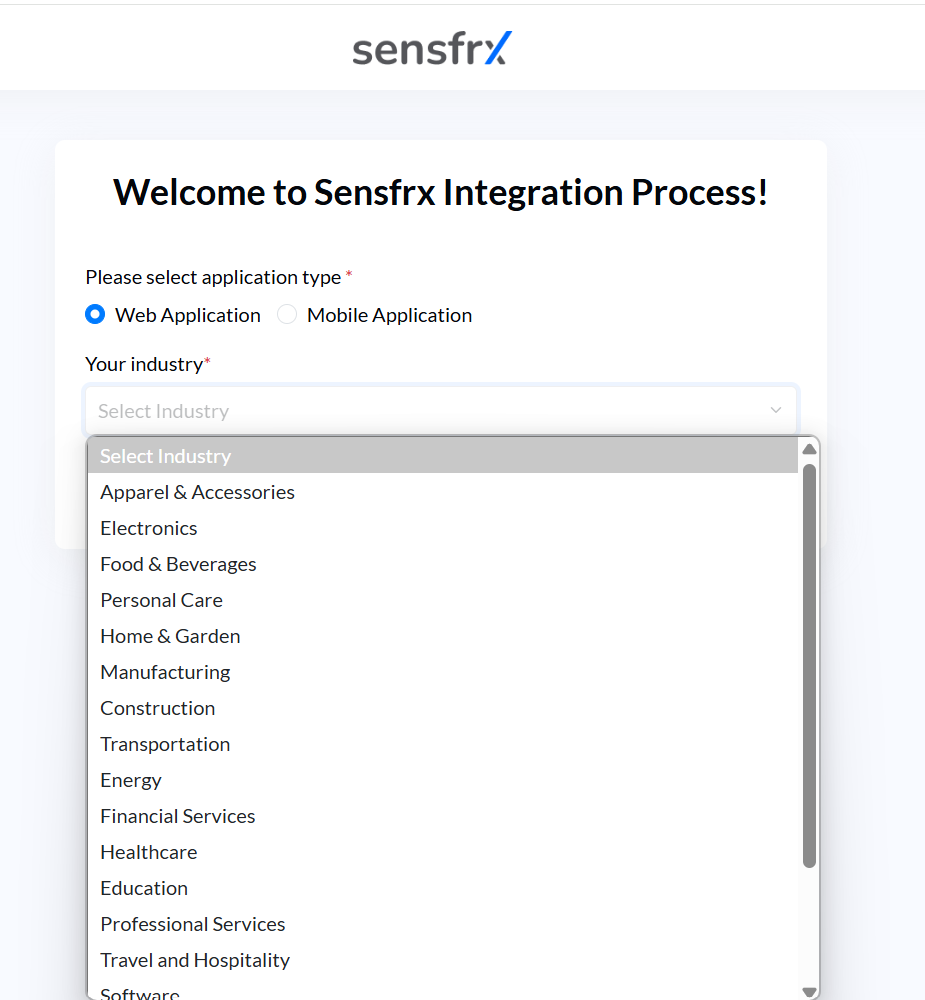
Image depicting second screen of integrating your property
1.6 Enter the website domain name and other details as required and click Start Integration.
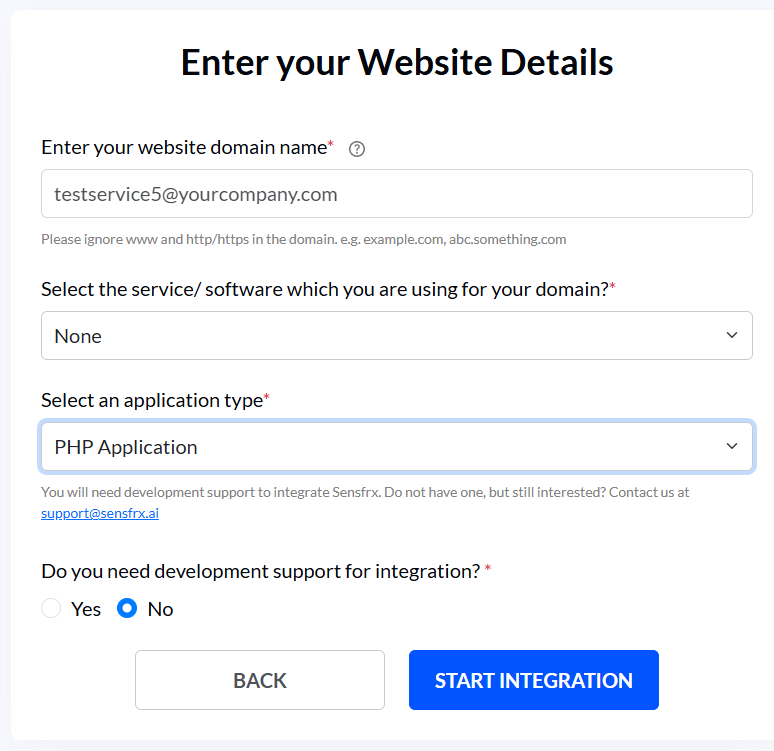 Image depicting the screen if the User selects PHP application for the application type
 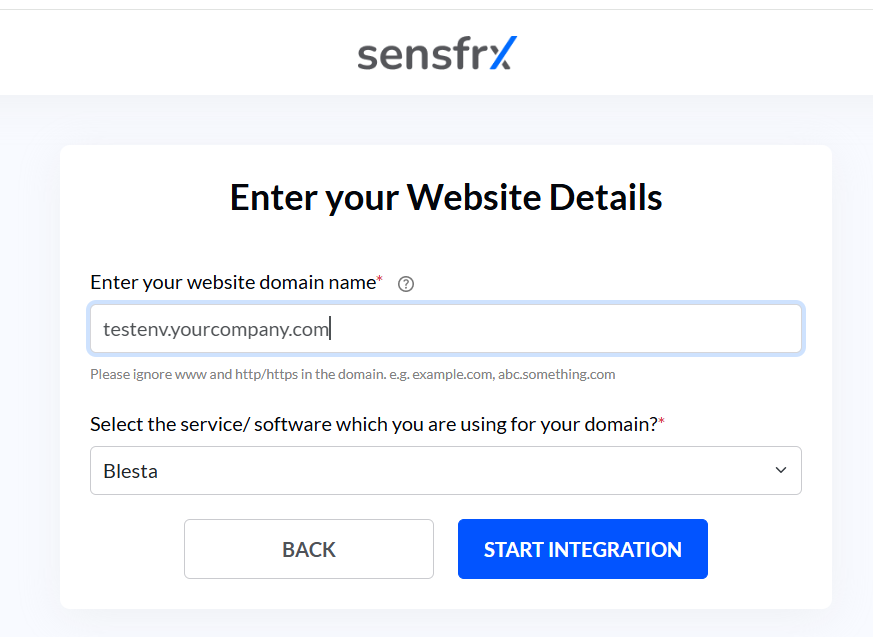 Image depicting the screen if the User selects Blesta (or any other plugin) for the application type
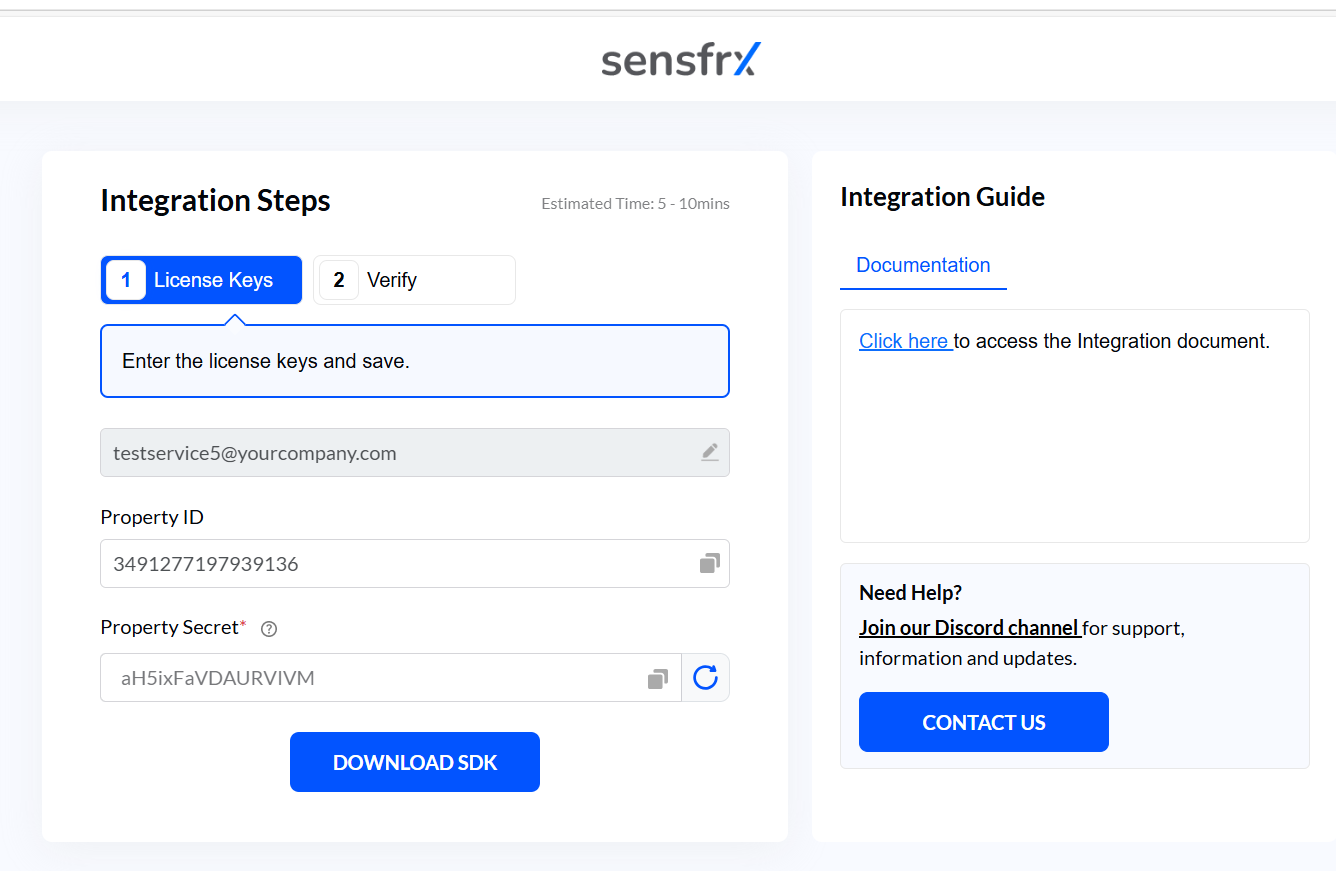
Step 2: Add your property (License Keys)
If you already have a property ID and property secret, please proceed to Step 3. If not, continue reading for further instructions.
2.1 The Property ID field and the property secret fields will be pre-filled, and you will copy them using the copy button in the right corner. You can also change the property secret using the refresh button.
2.2 After copying the property secret and property ID, click on the Download SDK button.
Note: The SDK will be required during server-side configuration, explained in Step 4.
Step 3: Client-side integration
Here’s how to quickly connect your website or app to Sensfrx and start collecting behavioral and device data.
This step covers client-side setup using our JavaScript Pixel and plugins for smooth integration.
3.1 Web Integration
The client-side JavaScript, referred to as Pixel in this guide, is installed on your website or as a native agent in your mobile app. Once your account is created and you have your property ID and secret key, the agent collects browser or device information and sends it to the Sensfrx Platform. The platform then generates unique device IDs for each browser or mobile device.
Installing the Sensfrx agent is effortless.
Visit our Client-Side SDK for quick setup.
Explore our End-to-End Web Integration Guide for a comprehensive walkthrough.
3.2 Plugins and Extensions
Sensfrx offers seamless support for extensions and plugins, making it easy to integrate with your favorite platforms.
Get started today:
Step 4: Configure server-side API
Configure the server-side API in your web or mobile apps and use your property ID and secret key for authentication. This API lets you send raw data to Sensfrx's cognitive engine, and it returns with risk score.
Sensfrx provides server-side SDKs in multiple programming languages to make it easier to configure your web or mobile apps. These SDKs help you work with the Server API seamlessly. To get started, click on the DOWNLOAD SDK button if you haven't previously, followed by extracting the files and adding them to your PHP directory.
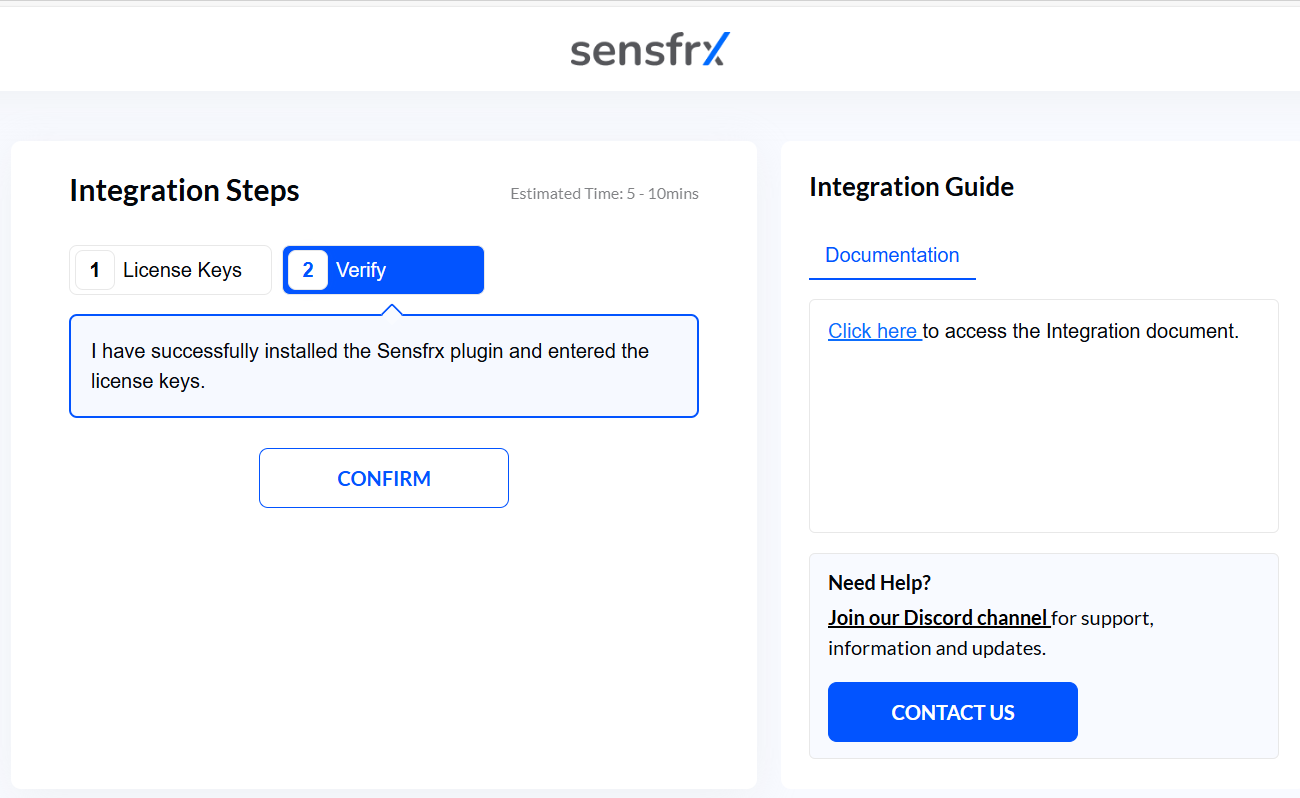
After completing the client and server-side integration process, the user should click the Verify button to activate Sensfrx for tracking traffic on the application.
Once done, click CONFIRM, and the User will be redirected to their dashboard.
For more information, check out SDKs and Libraries.