Policy Engine
Overview
Although the Sensfrx risk scores offer a solid foundation for identifying fraudulent behavior, the Policies feature is essential for implementing rules tailored to your business domain, ensuring you catch fraud unique to your platform.
Sensfrx system has a set of policies that help to detect suspicious and fraudulent behavior for the different use cases that are account security, new accounts, transactions and bots.
It helps to configure what event will lead to what type of action that can be:
allow
deny
challenge
review
The policy engine offers four tabs that are:
Default Policies
Custom Policies
Advanced Policies
Backlist/Whitelist
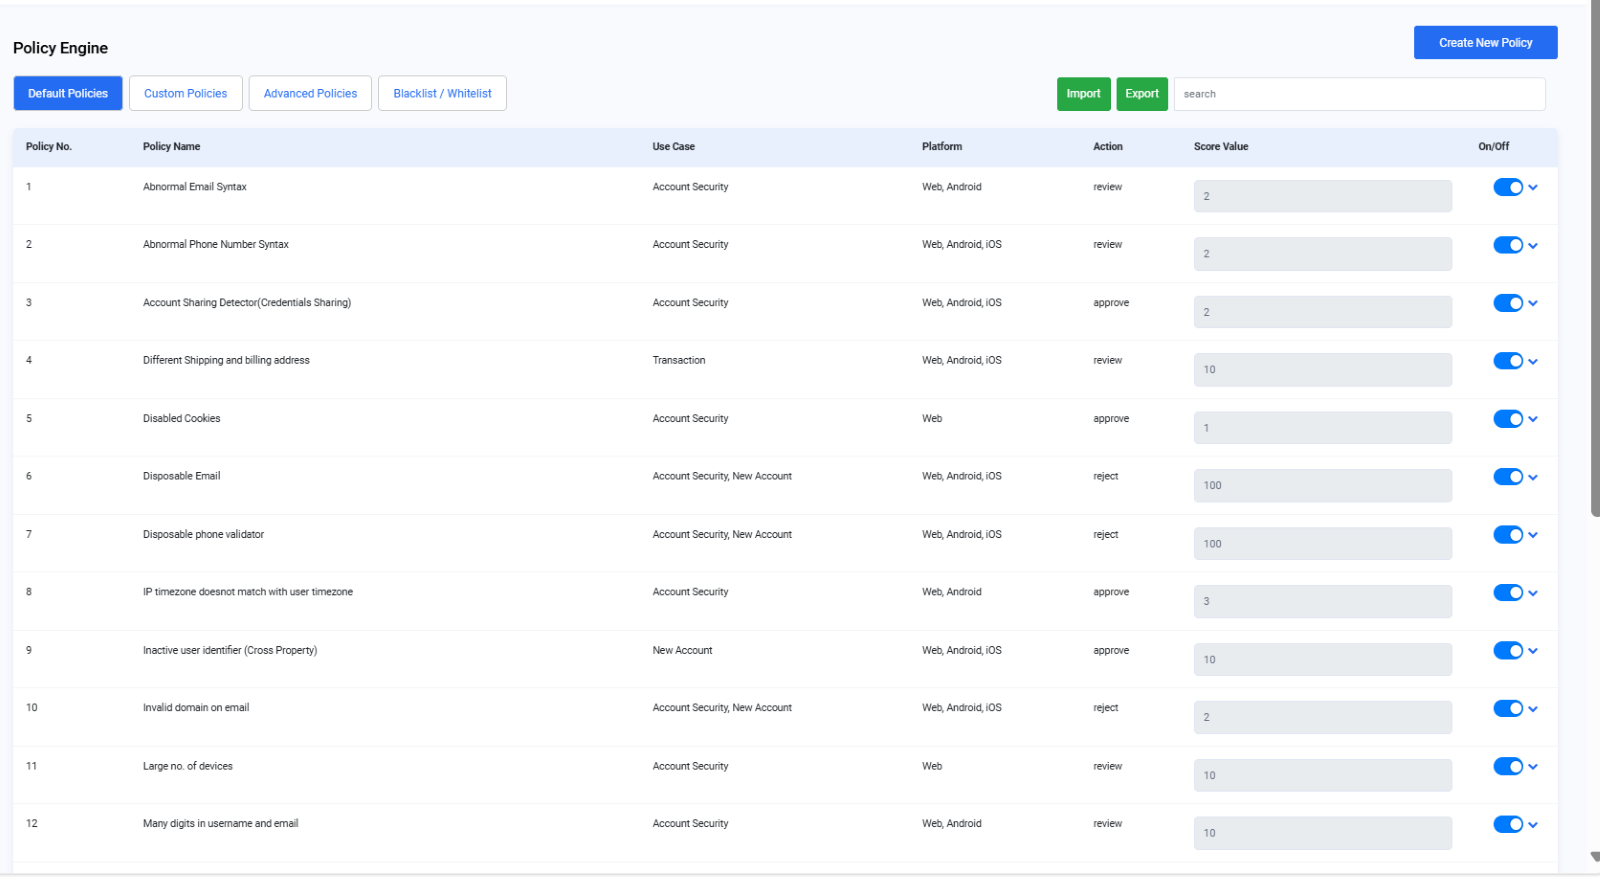
Image depicting Policy Engine webpage
Default Policies
These are pre-configured settings. Users can adjust them using the Action dropdown under each policy for convenience.
Note: For free plan users there isn’t an option to change the default policy settings.
It also displays the use case for each of the policies listed, the applicable platform, action triggered and score value.
Policies can also be toggled on/off based on user needs.
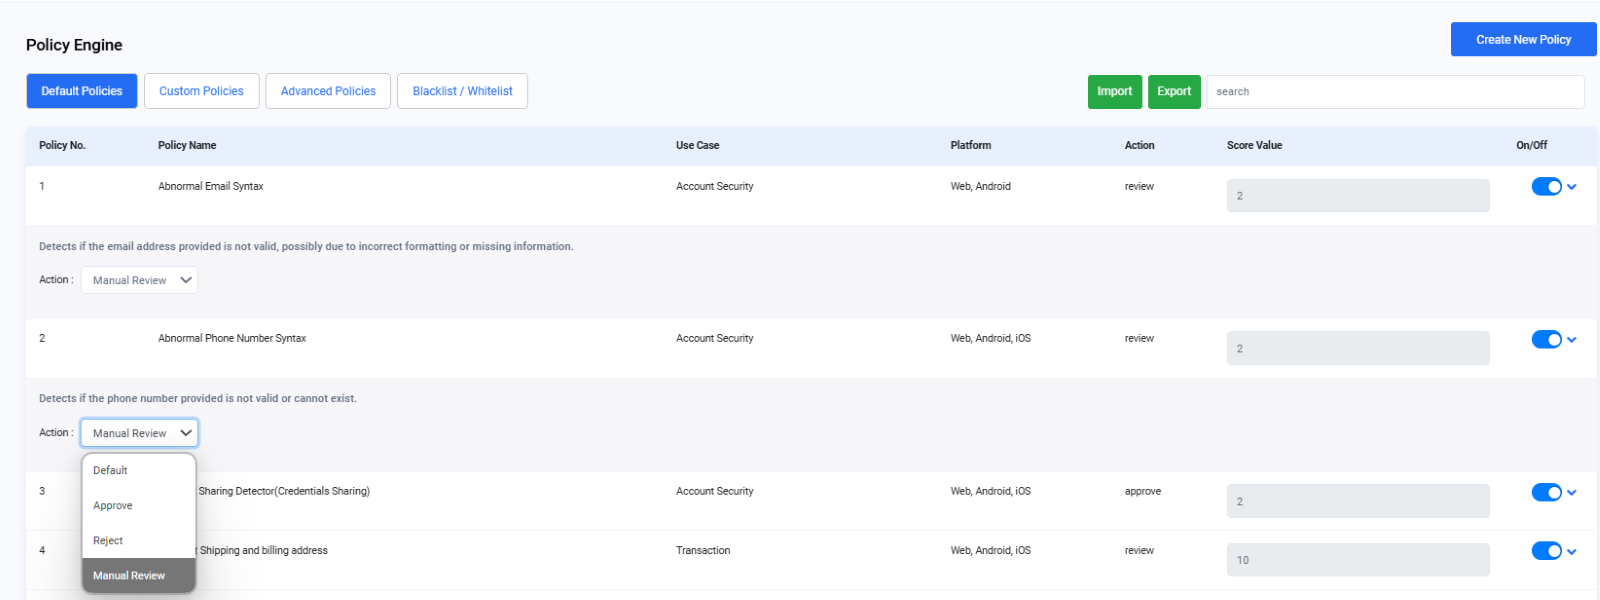
Image depicting Default Policies page with Action dropdown
Custom Policies
The User can also configure and create their own policies using the new policy button as described below:
Click on the Create New Policy that will open a form

Image depicting Custom Policies page
2. The User will enter the details as required and click on the Save button. The new policy will be created and will be displayed under the Custom policies tab.
Note: This feature is available for paid users only.
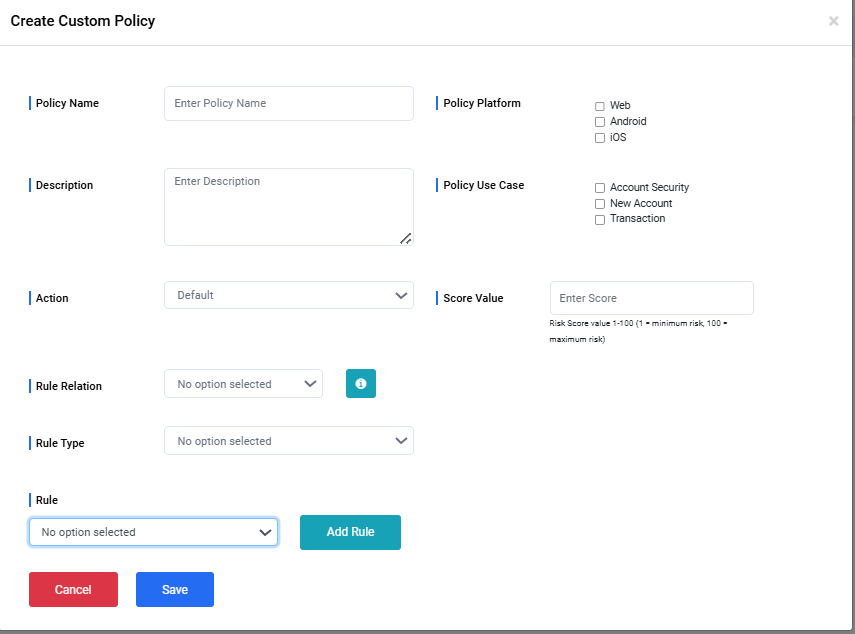
Image depicting custom policies creation form
Advanced policies
The advanced policies section lists the policies that are powered by machine learning algorithms. The User can change the action associated with it as per their requirement using the action dropdown.
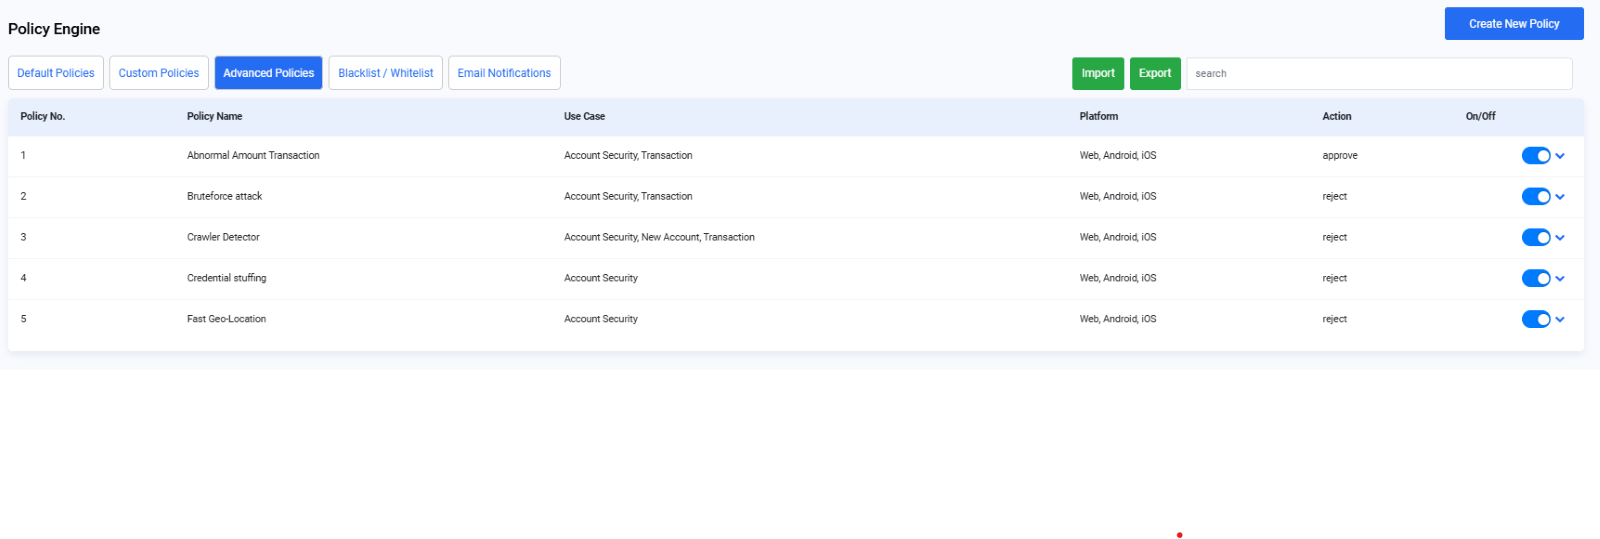 Image depicting advanced policies

Image depicting action button for configuring each policy
Blacklist/Whitelist
The blacklist feature allows the user to block suspicious user id, IP address or email id. On the contrary the whitelist feature allows user to prevent specific user id, IP address or email ID from getting blocked or denied at any point of time. The User can add blacklist/whitelist item using the Add New Item button.

Image depicting Blacklist/whitelist page
The User will need to use the dropdown to select the item type and then fill in the details in the Blacklist item Value field. The User will then click on the Submit Button.
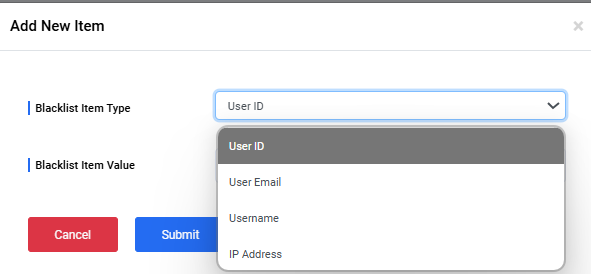
Image depicting Add new Item form
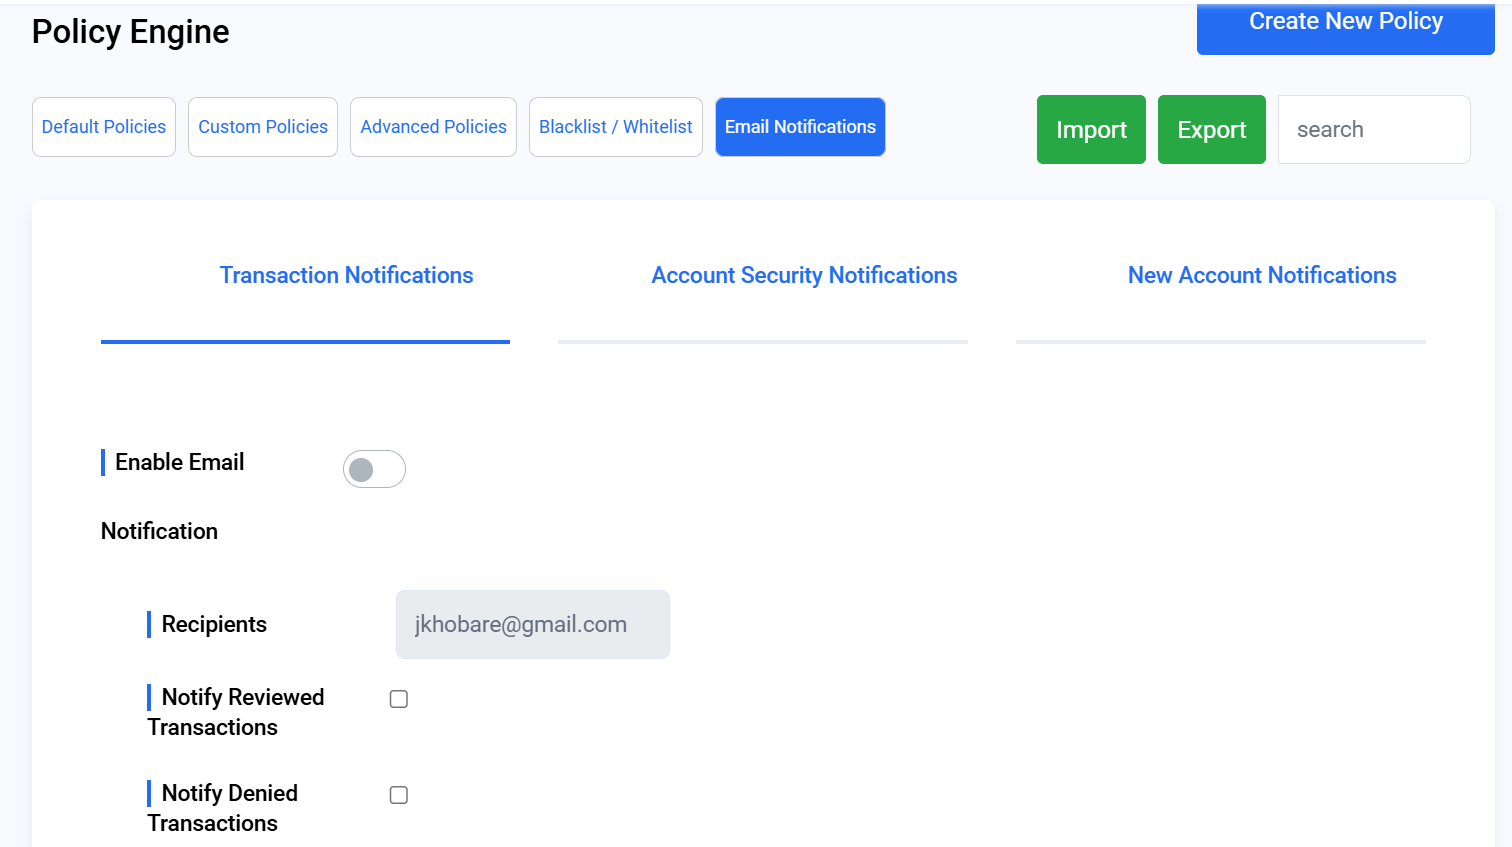
Email notifications
The email notifications section in Policy Engine allows you to set up email alerts for the three use cases that are Transactions, Account Security and new accounts.
Once the user enables the email notifications for the respective use cases, they will start receiving email alerts on their registered emails.
The user can toggle the enable email radio button to set up the email notification alerts following by checking the respective checkbox for which they wish to receive alerts
